Program Page Tutorial

A program page on the University of Louisiana at Lafayette website serves as a marketing tool for prospective students to be introduced to each program.

Program pages are only available to be built by approved individuals. If your department needs a program page to be built or edited, please contact the central web team at web@louisiana.edu.

Building Process

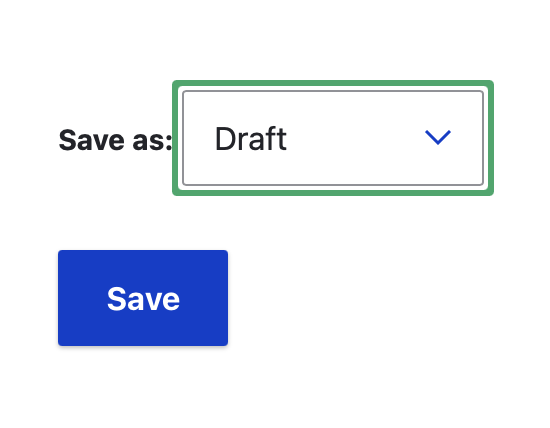
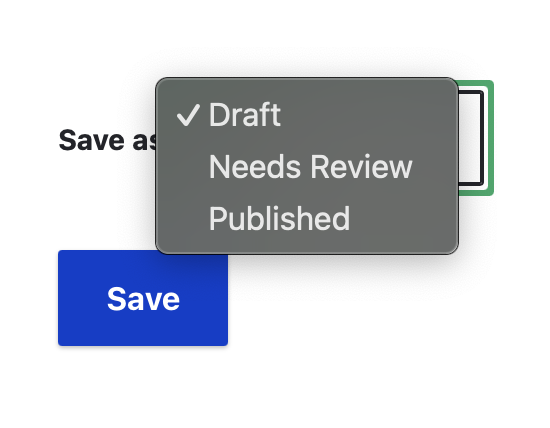
Program pages are complex pages that take a lot of planning to put together. Once you have all of your pieces, it still takes a long time to input your information onto the page. Please keep this in mind before sitting down to start on your page. Saving along the way is also a more difficult task because of all of the required pieces on the page that must be filled out before saving. If you need assistance at all, please contact the central web team at web@louisiana.edu.

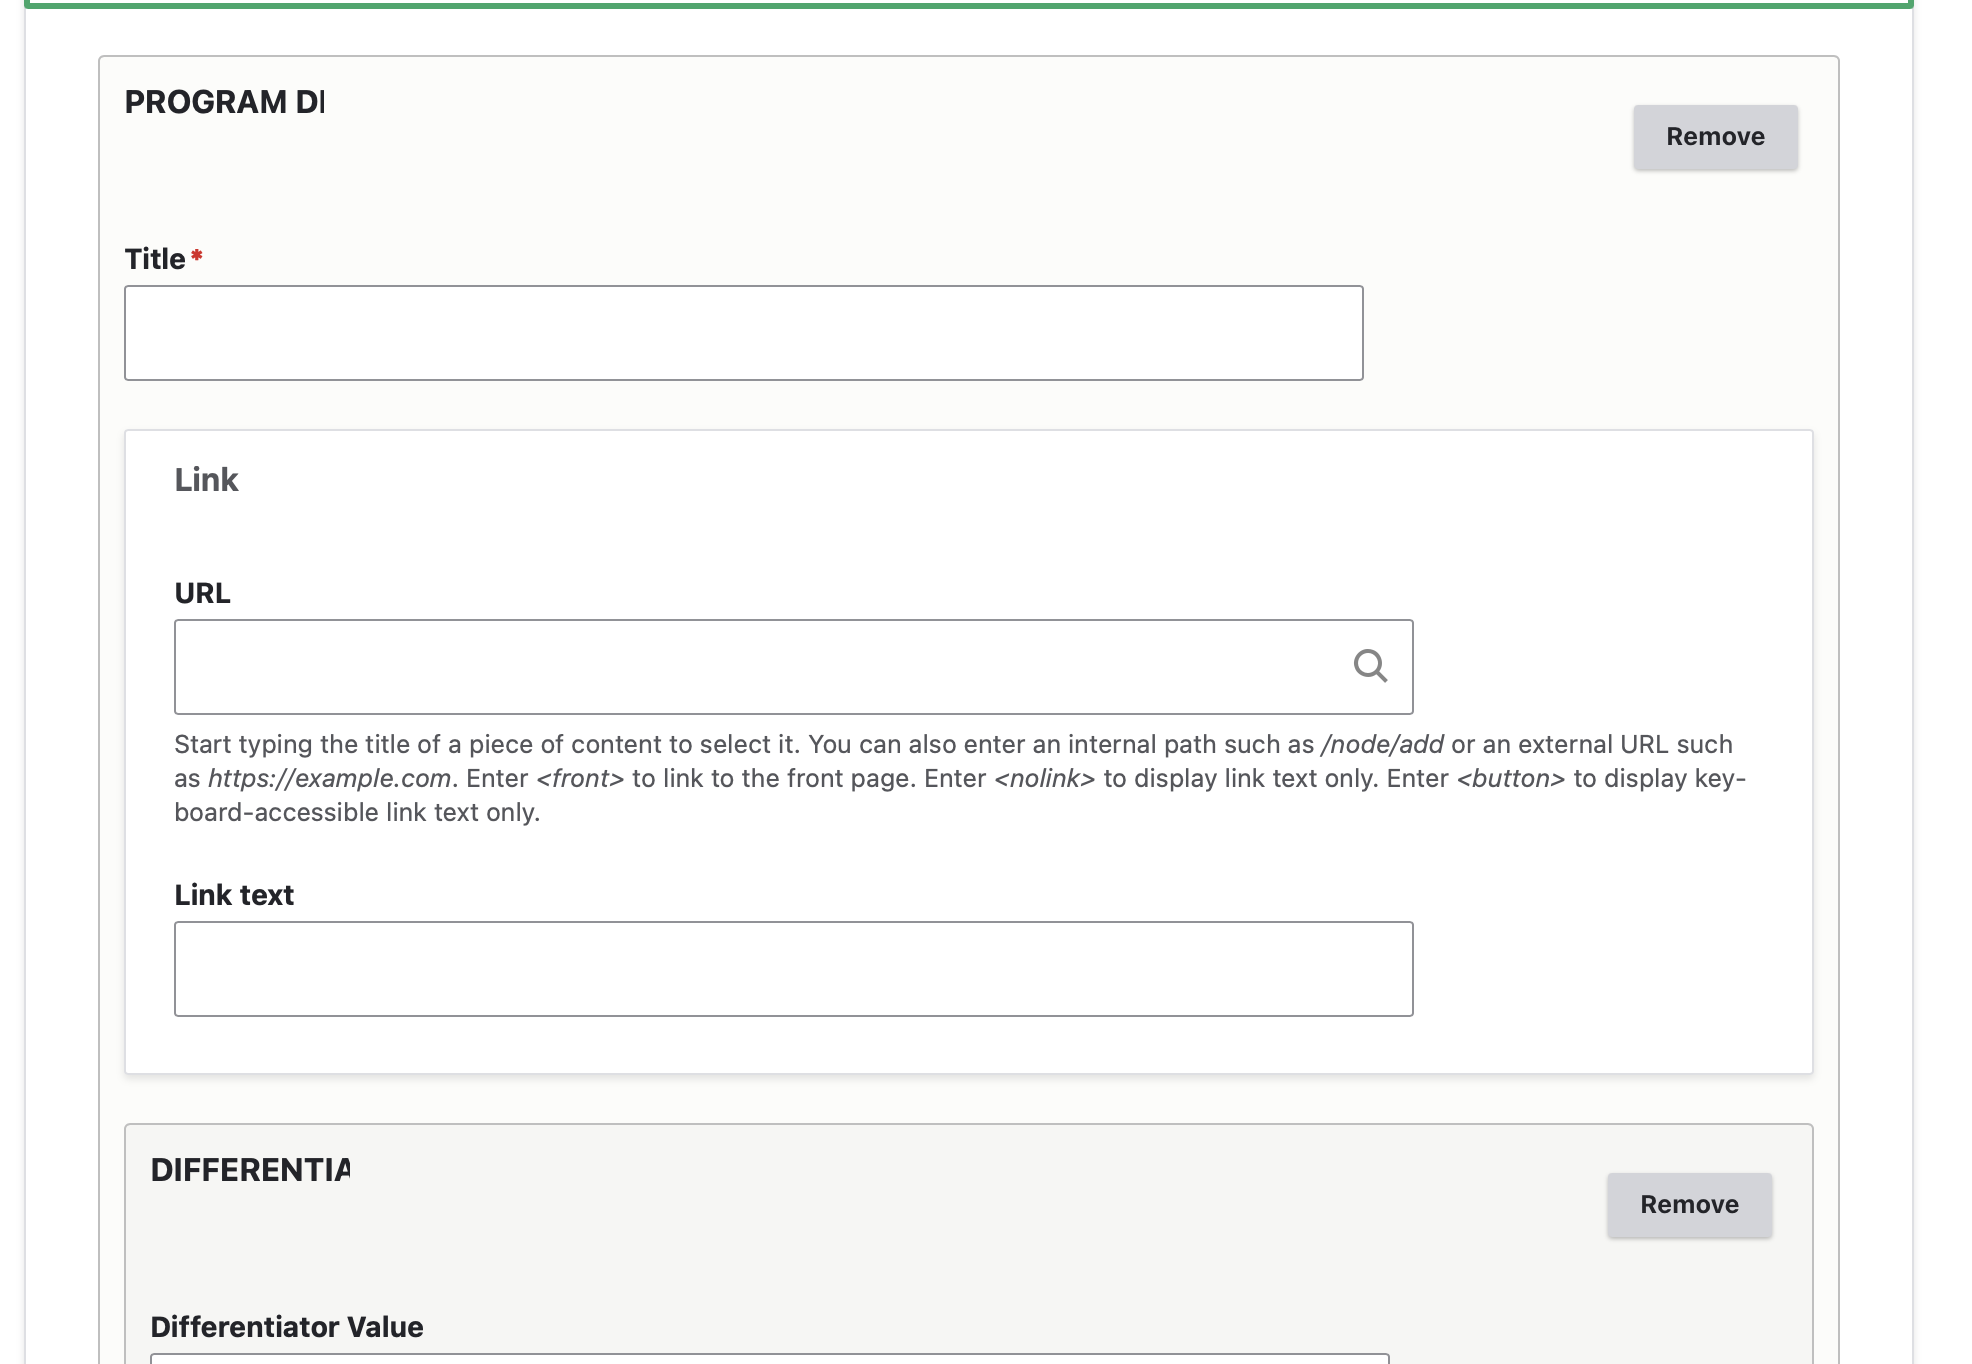
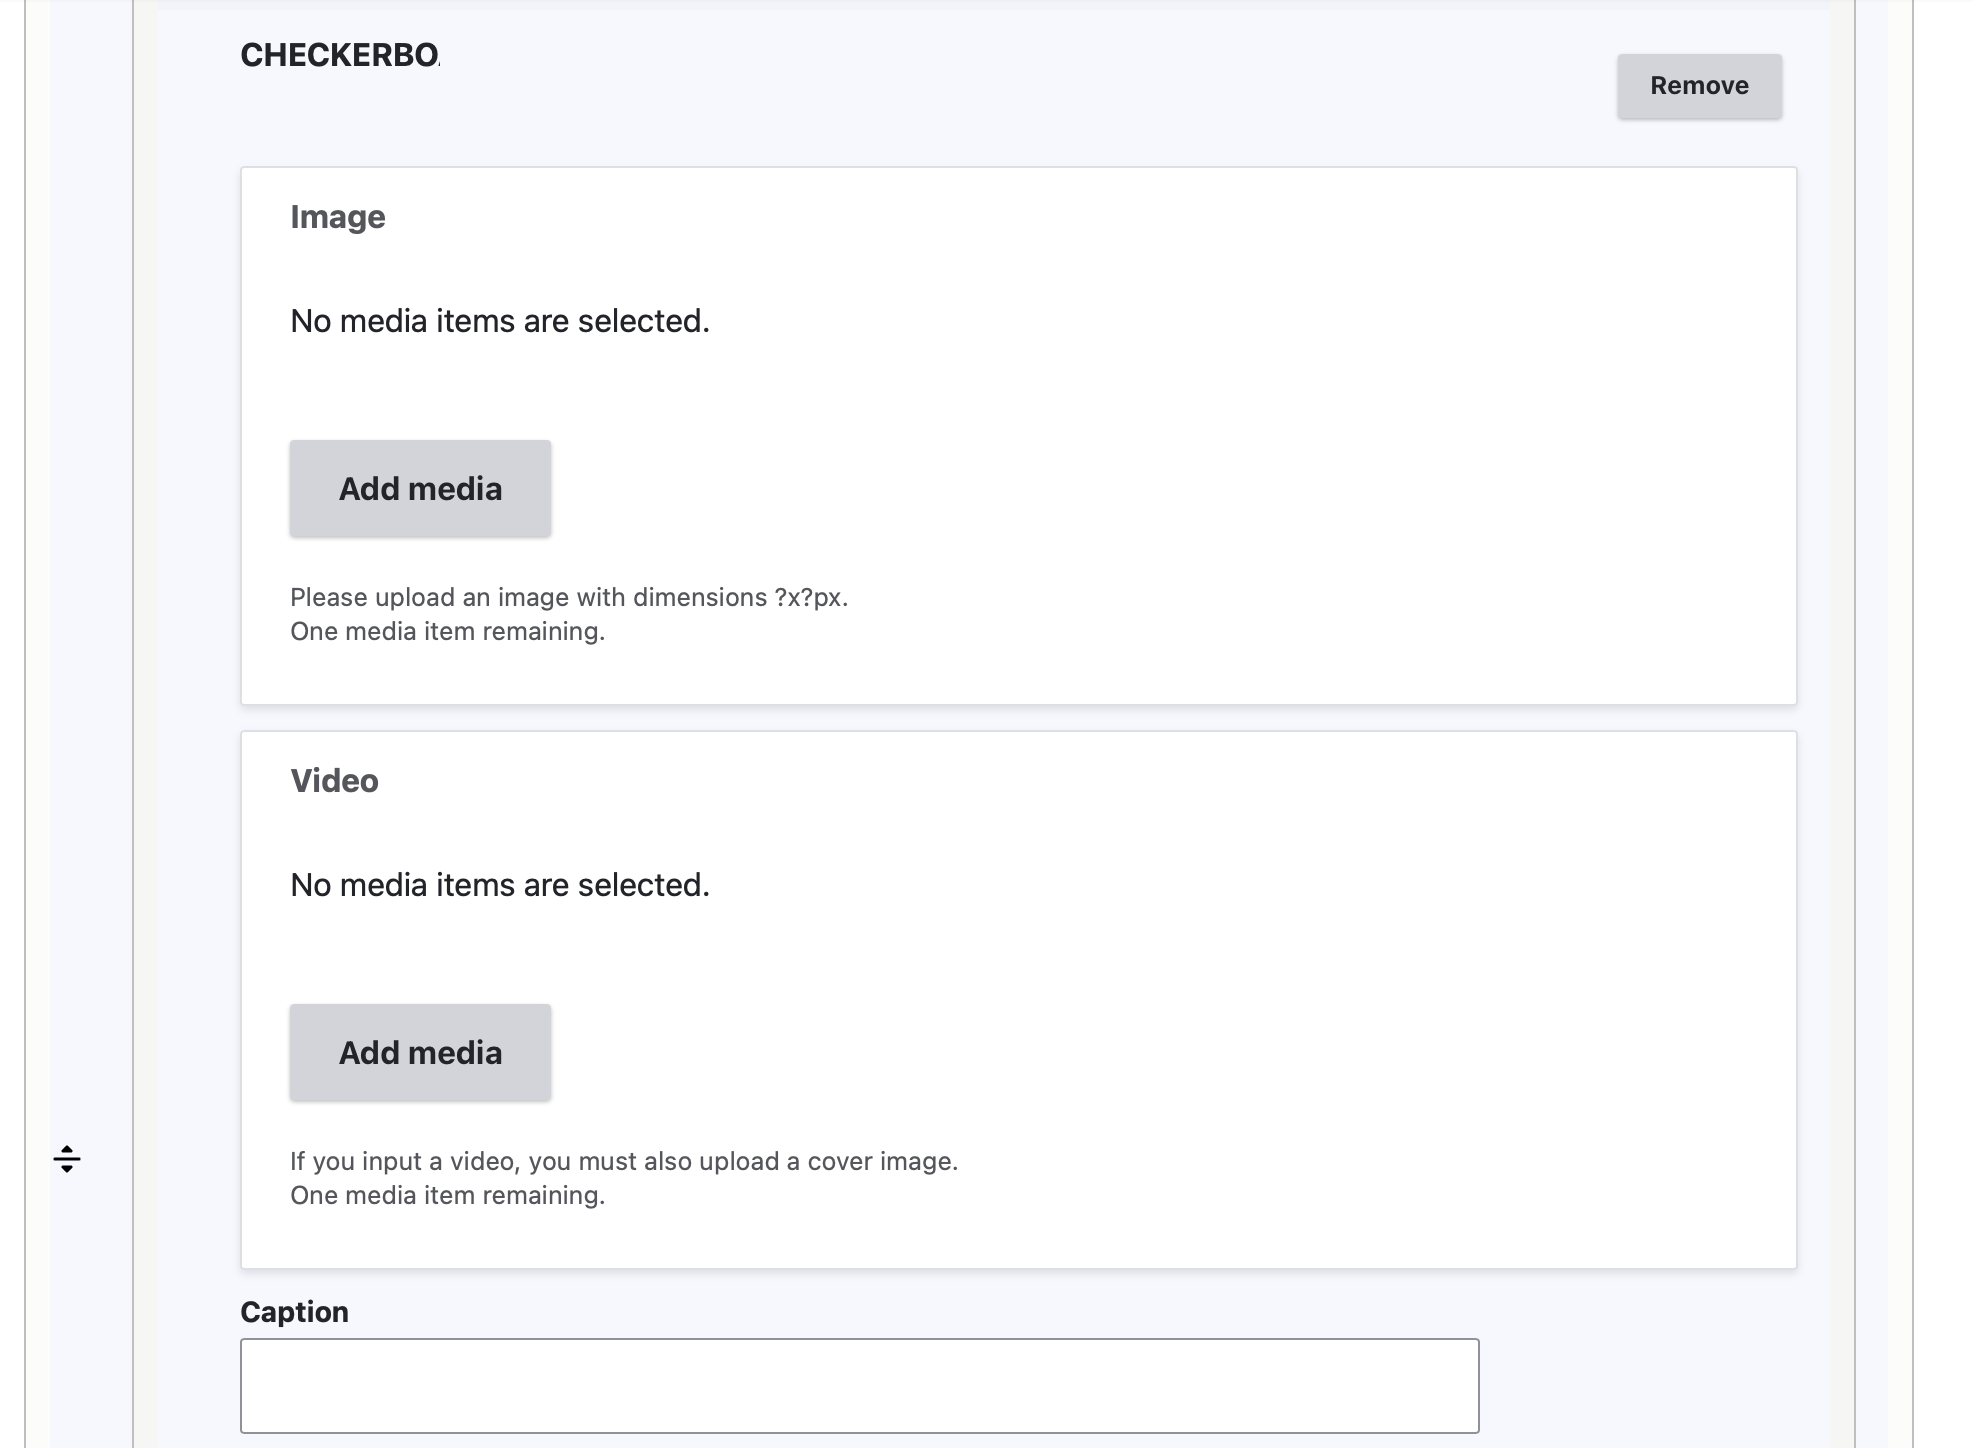
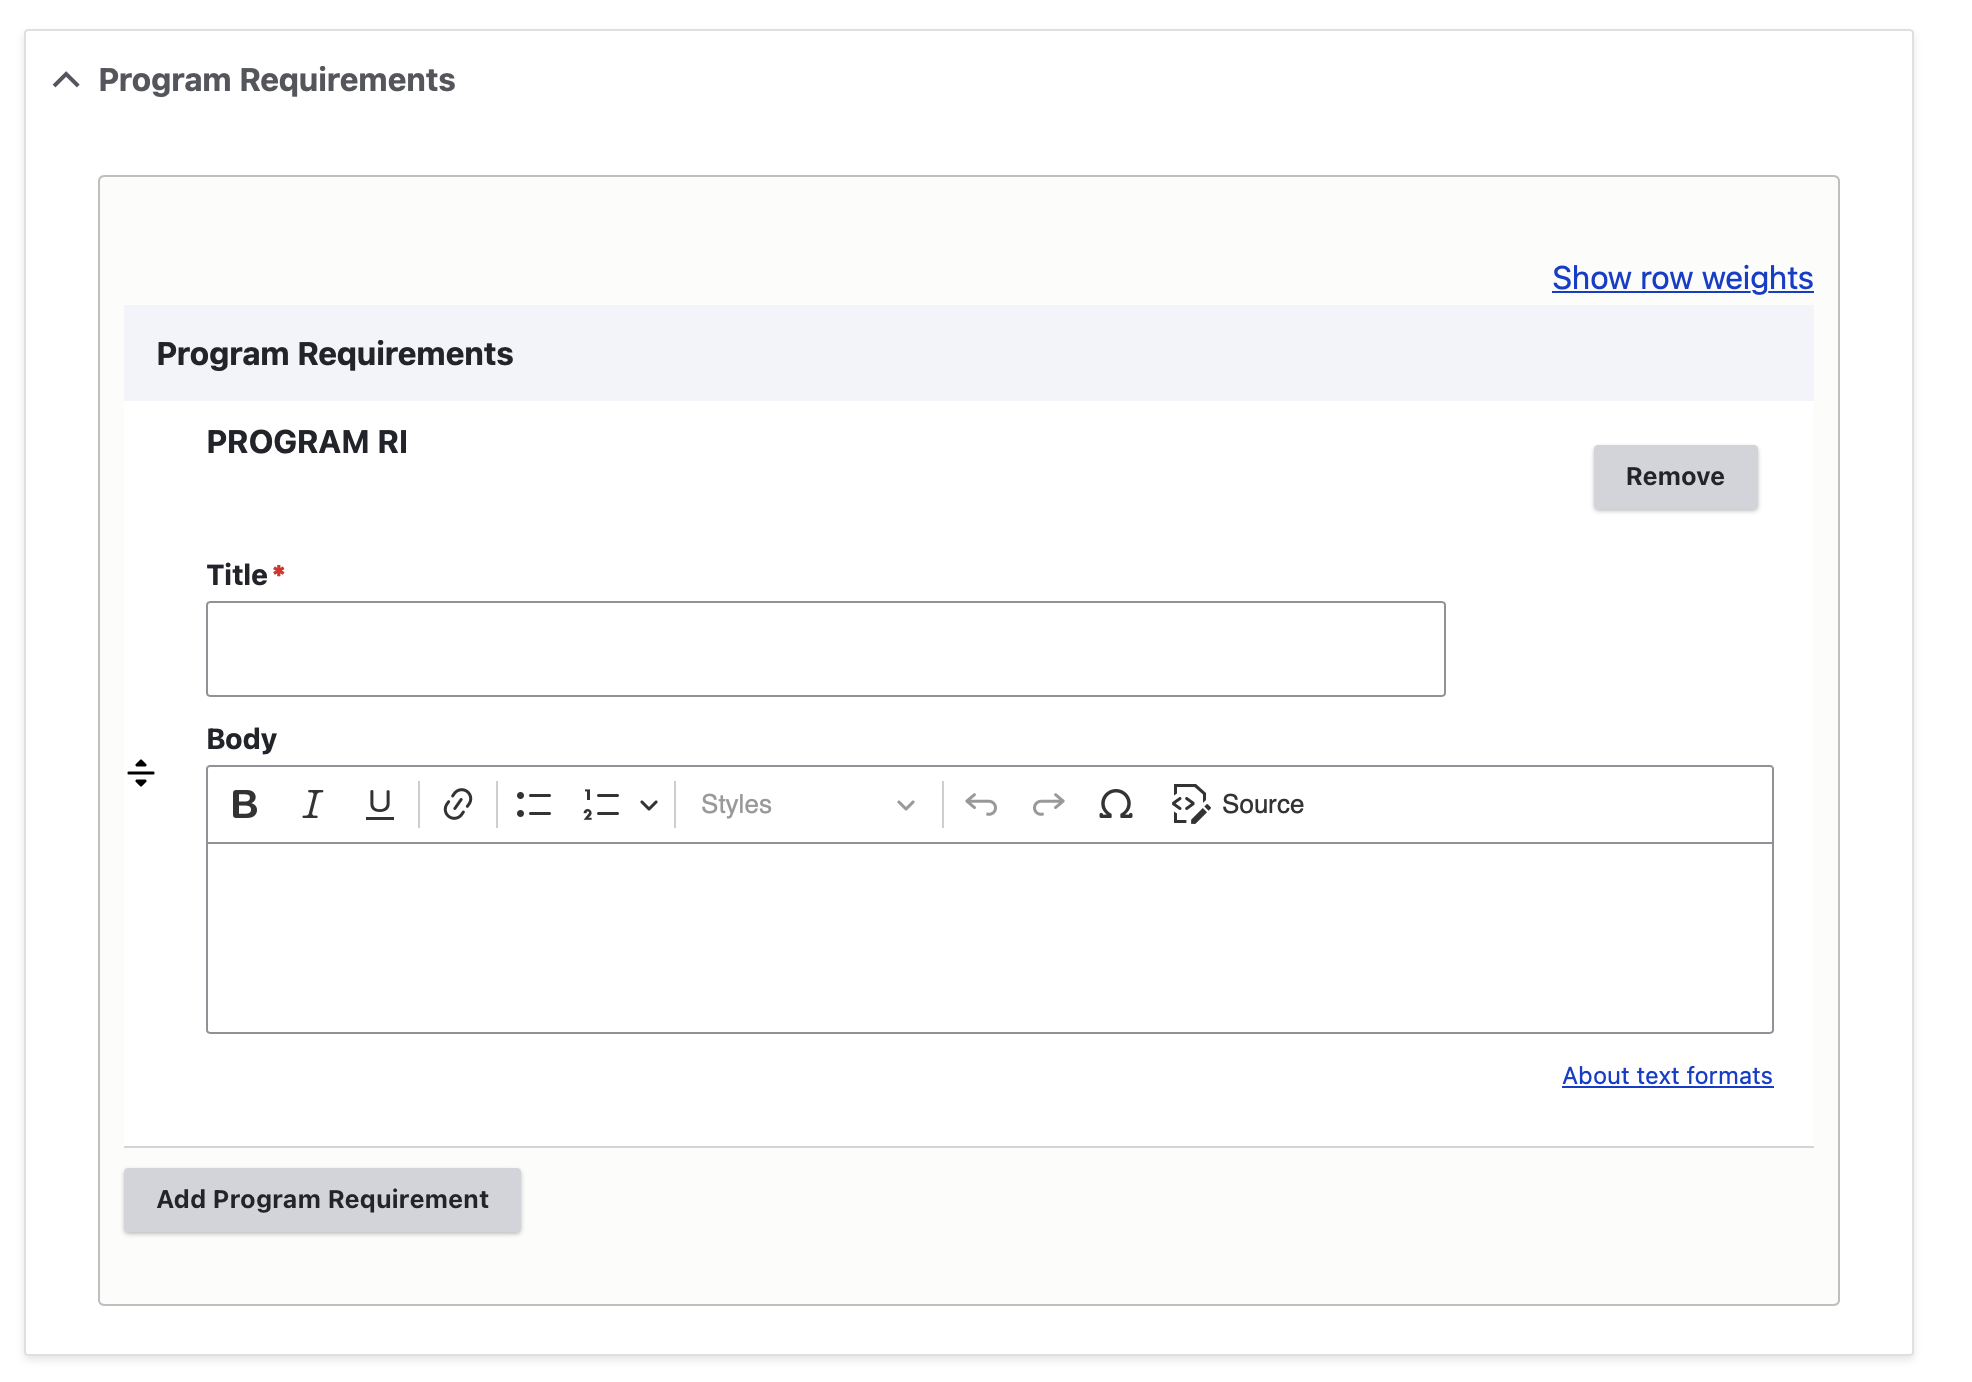
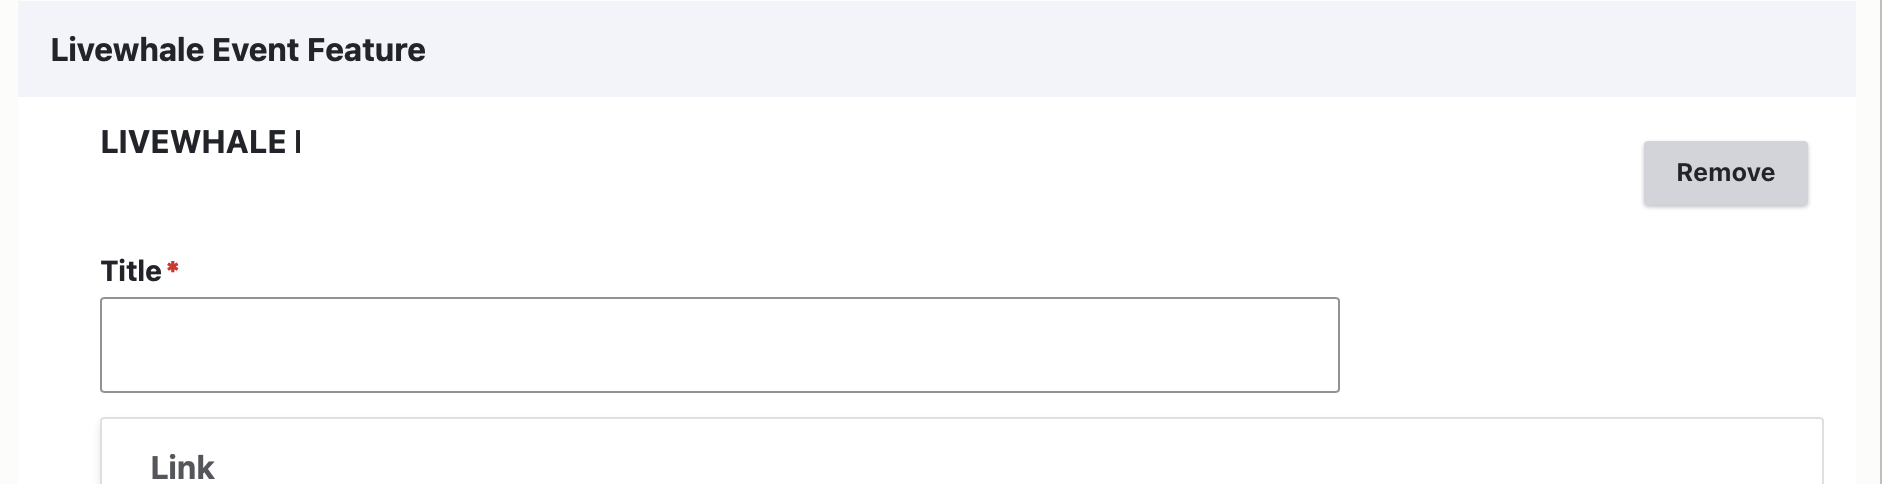
A lot of the components on a program page are optional and may be removed with the "Remove" button to the right side of each component. Please be aware that there may be "Remove" buttons within each component for items within the component as well. 

To build a program page, the tasks must be completed in this order:

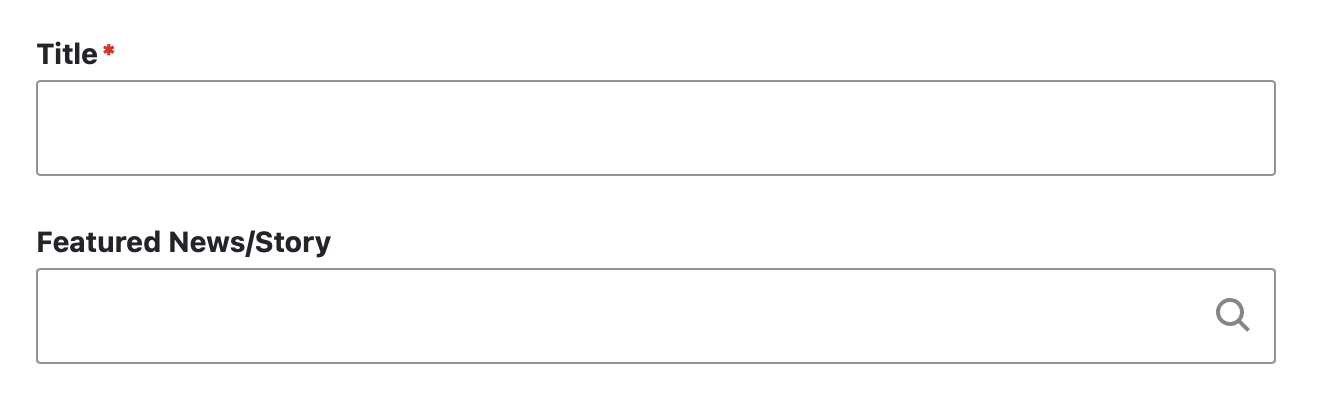
  1. Build the spotlight that will be pulled in for the featured quote at the top. Follow the tutorial to create news/stories.
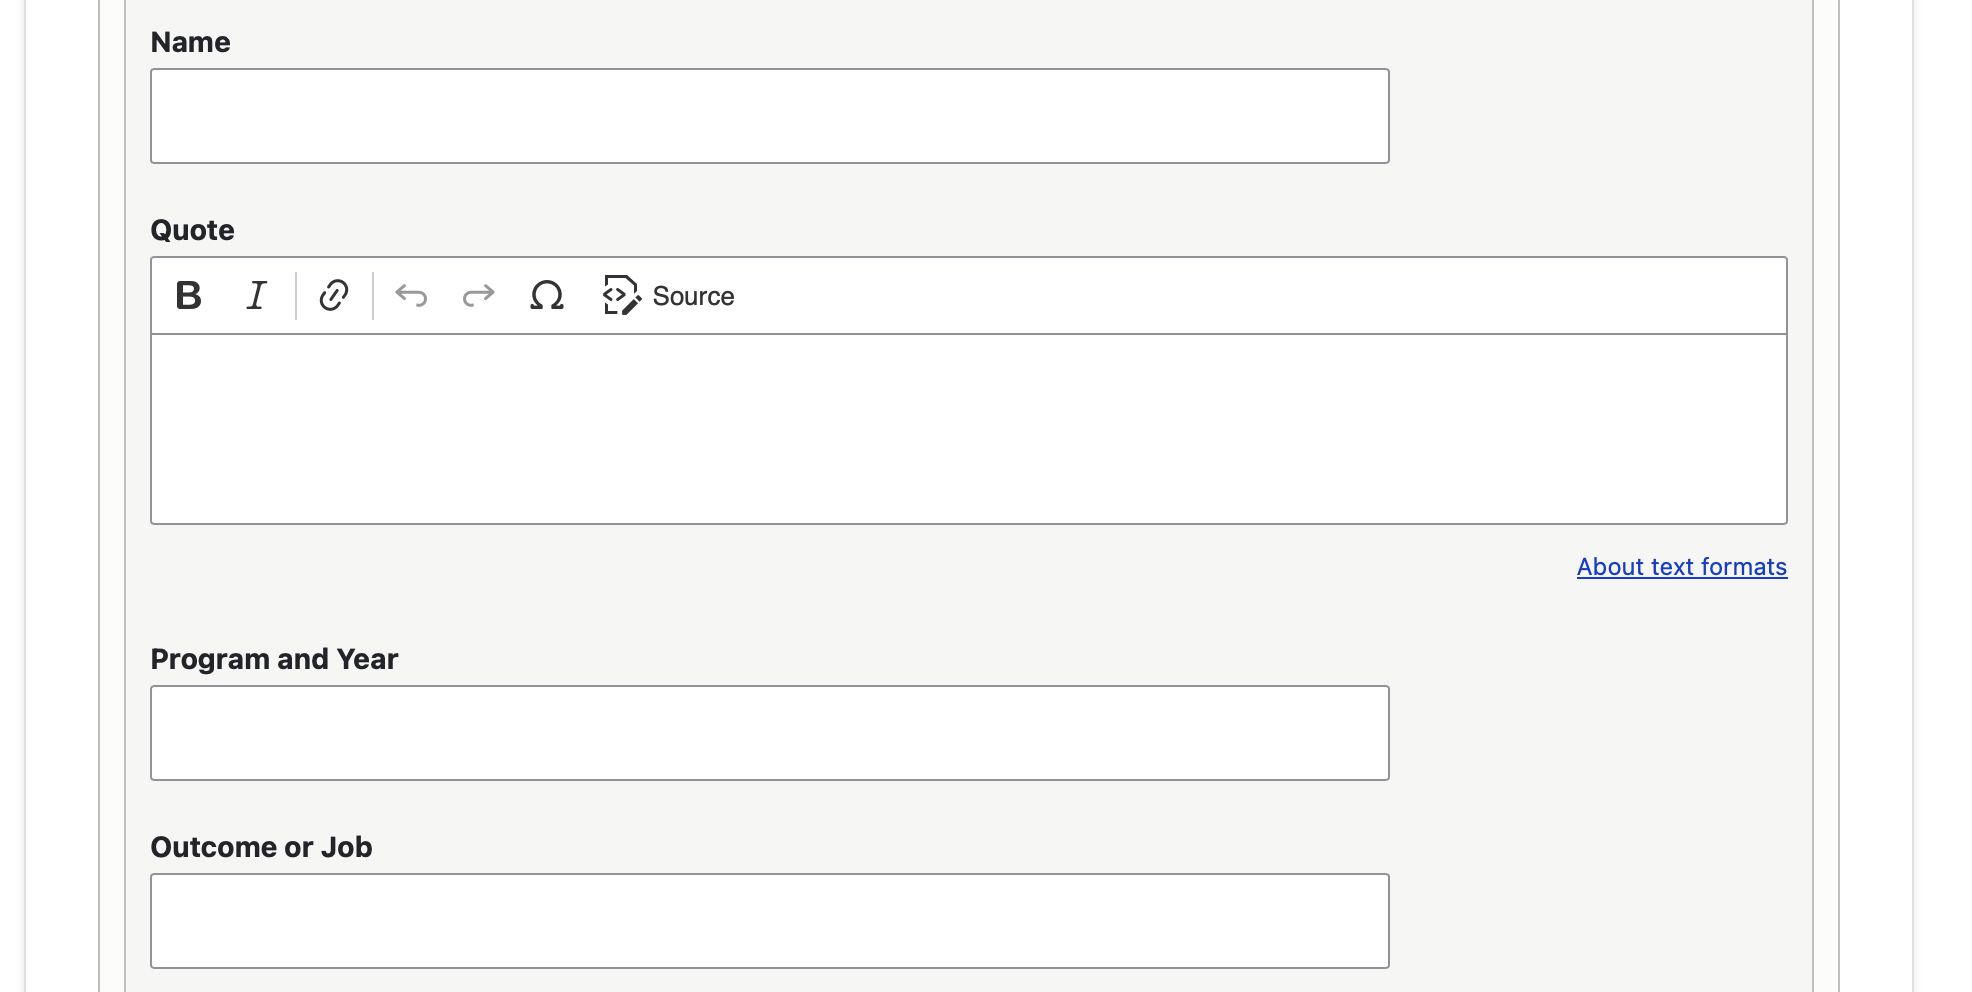
  2. Build the spotlight that will be pulled in for the alumni quote in the careers section. Follow the tutorial to create news/stories.
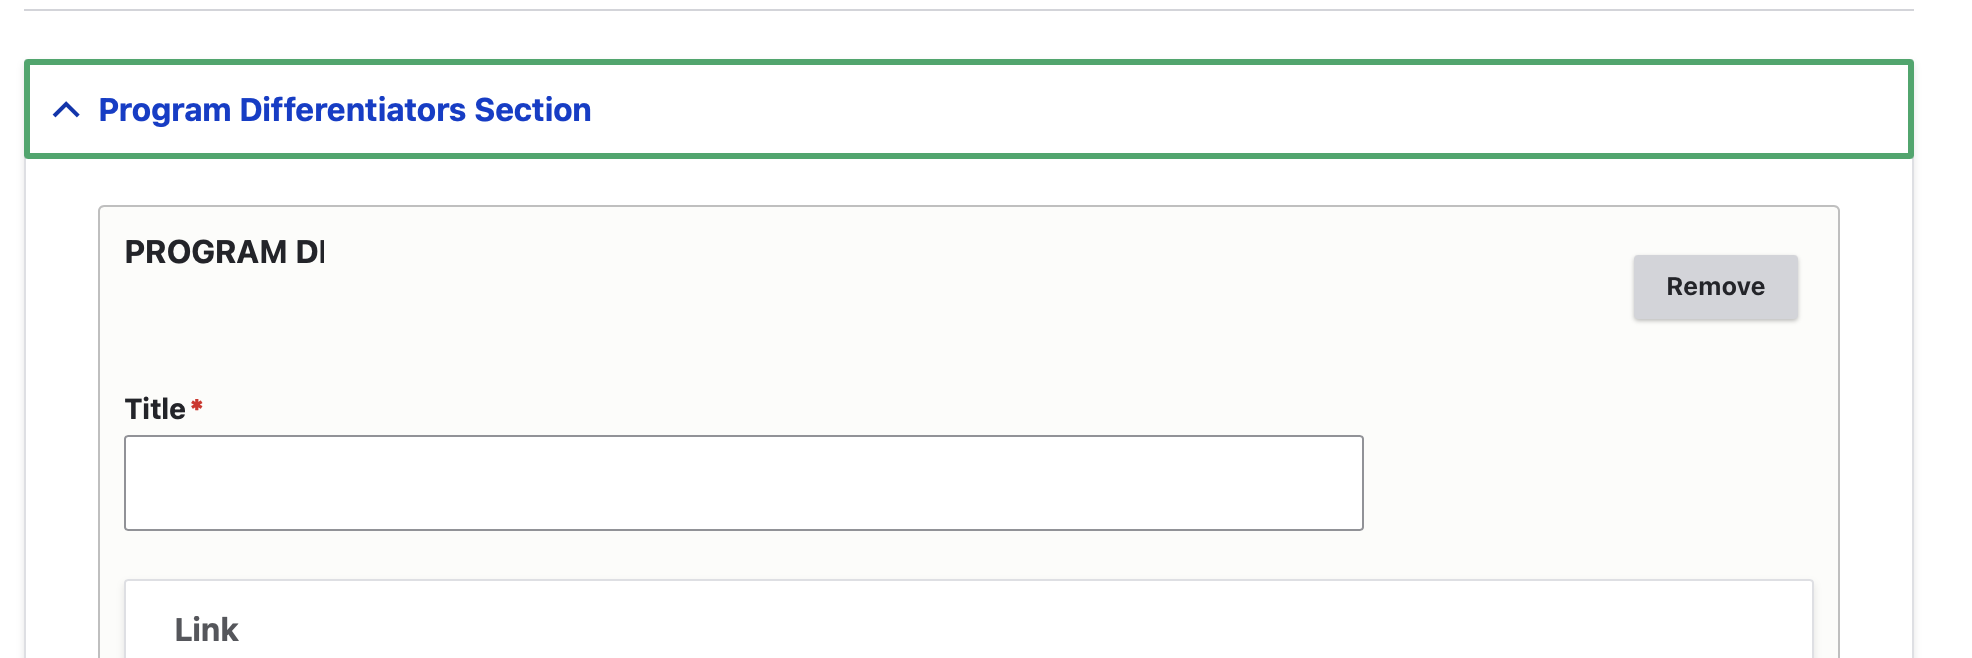
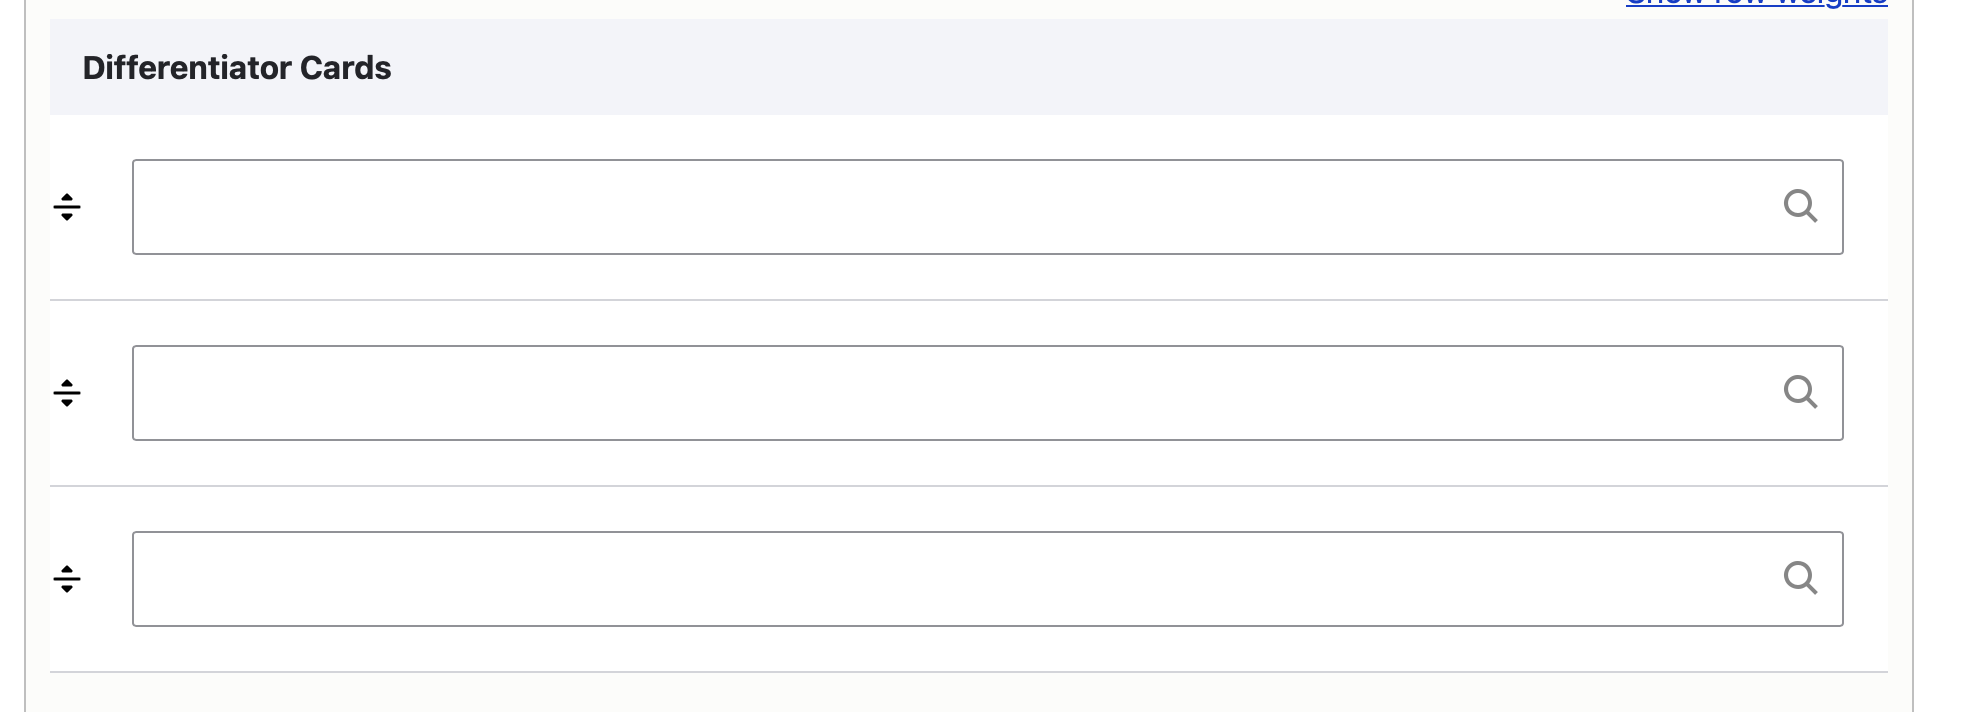
  3. Build the differentiator you want to pull in. Follow the tutorial to create differentiators - You only need to build one differentiator card for the program page, but you can add a differentiator section that will pull in 3 more differentiator cards. The purpose of these differentiator cards is to showcase things that differentiate your program. This could be stats from Institutional Research, accreditation, rankings, etc.
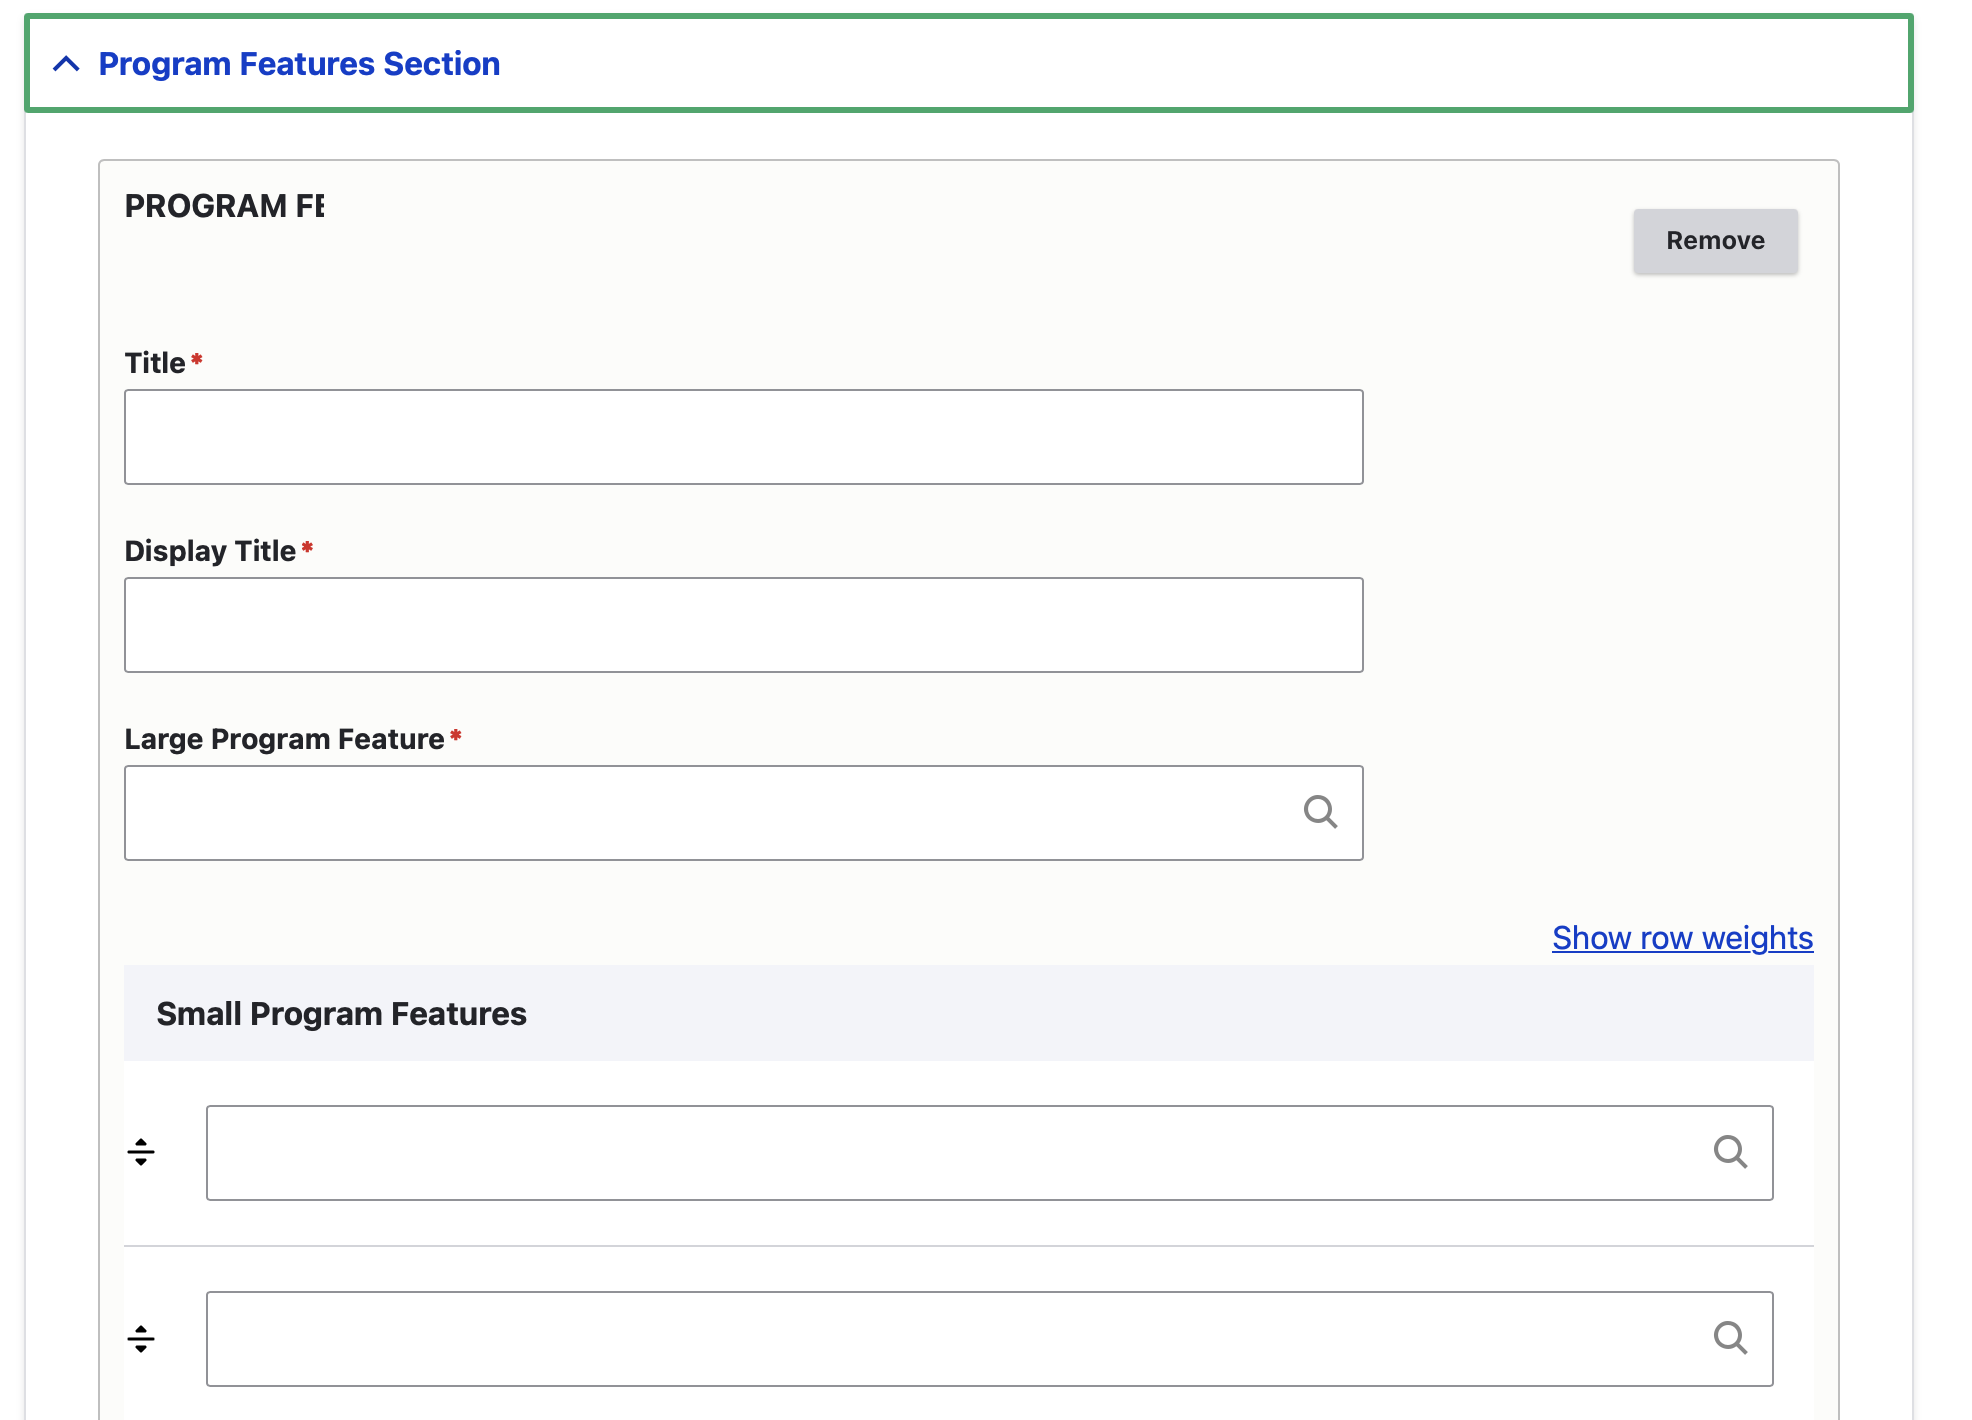
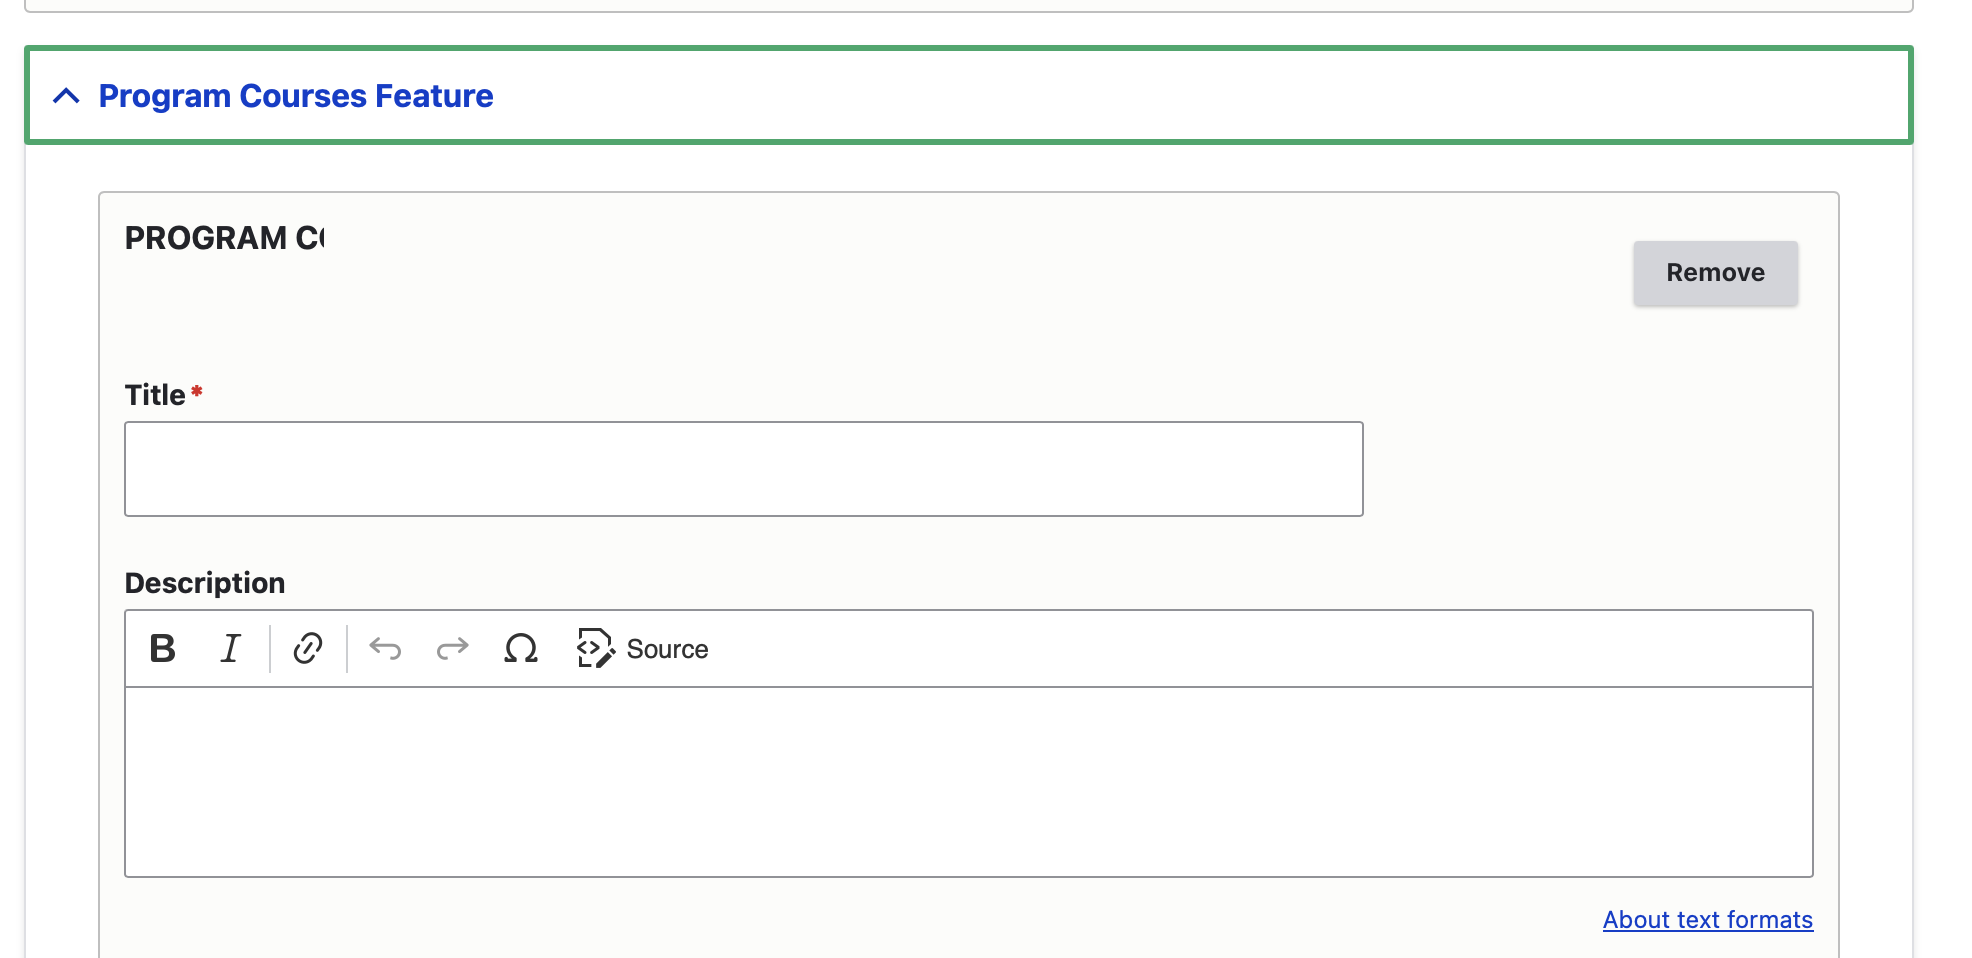
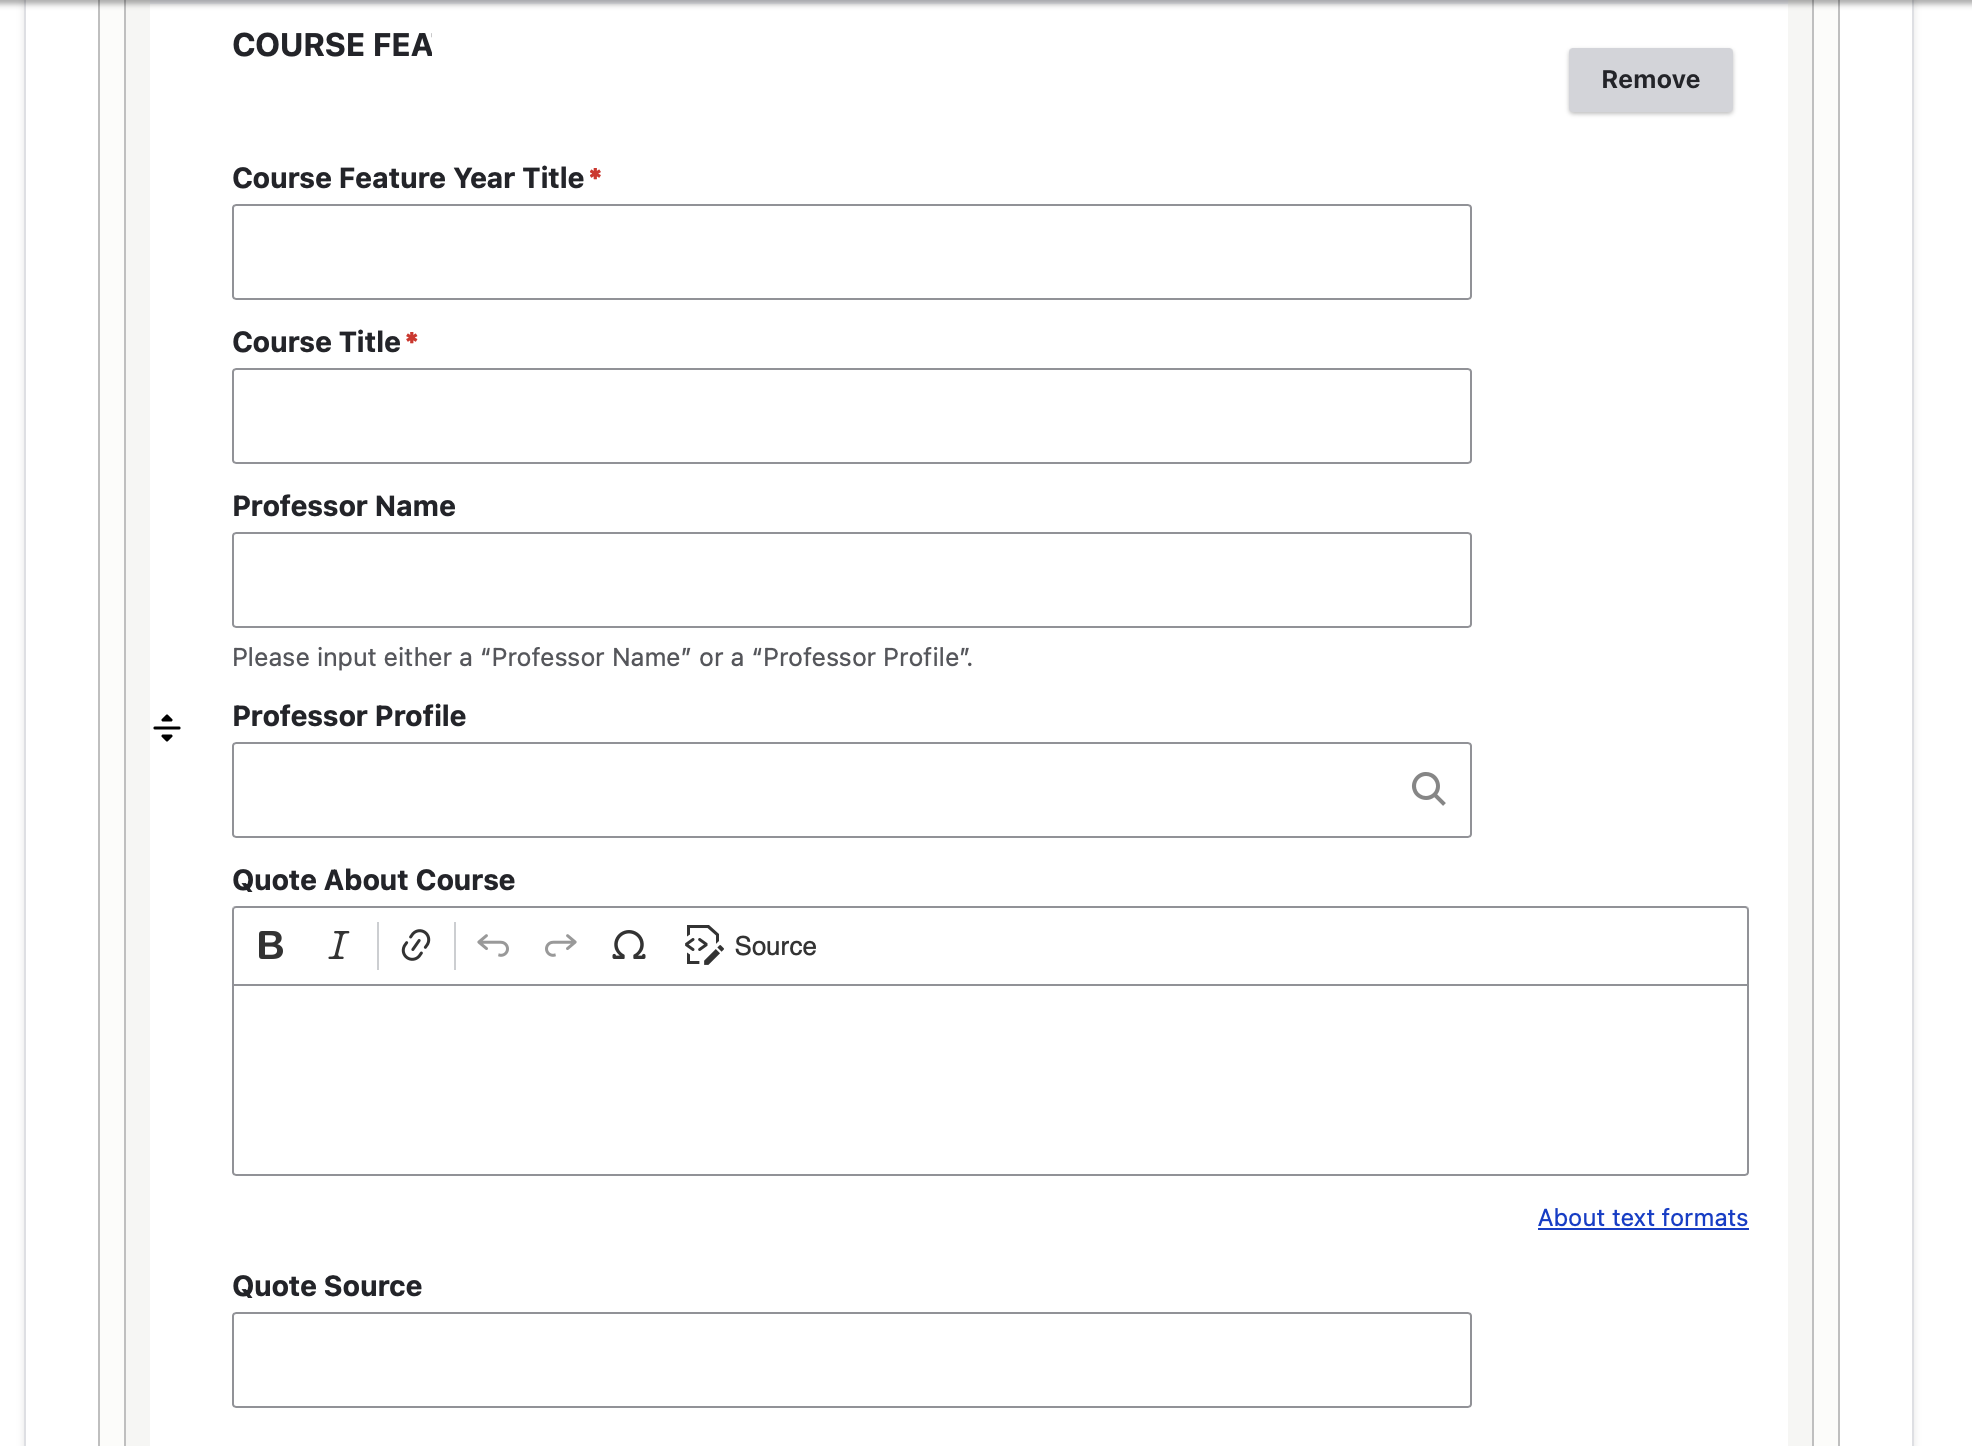
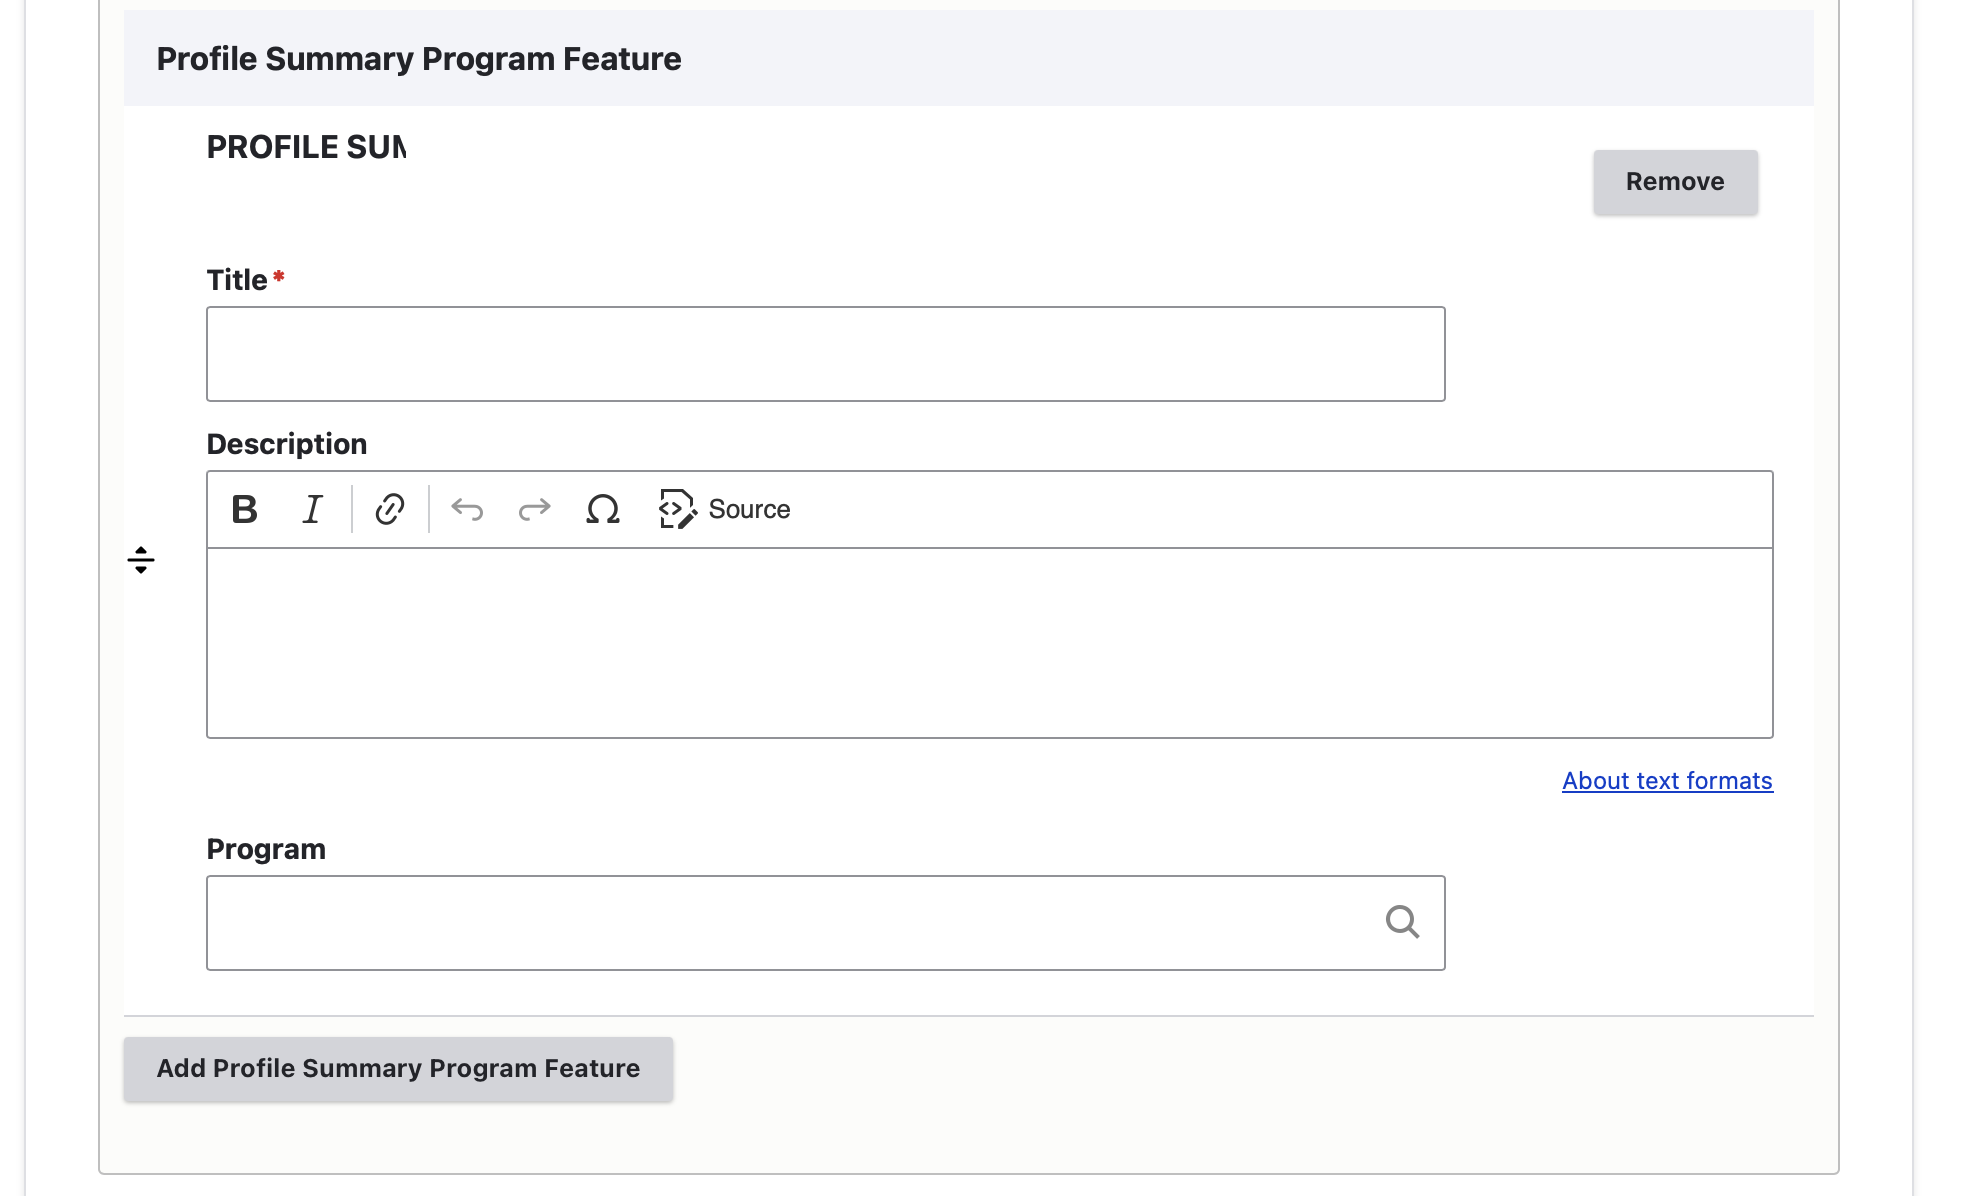
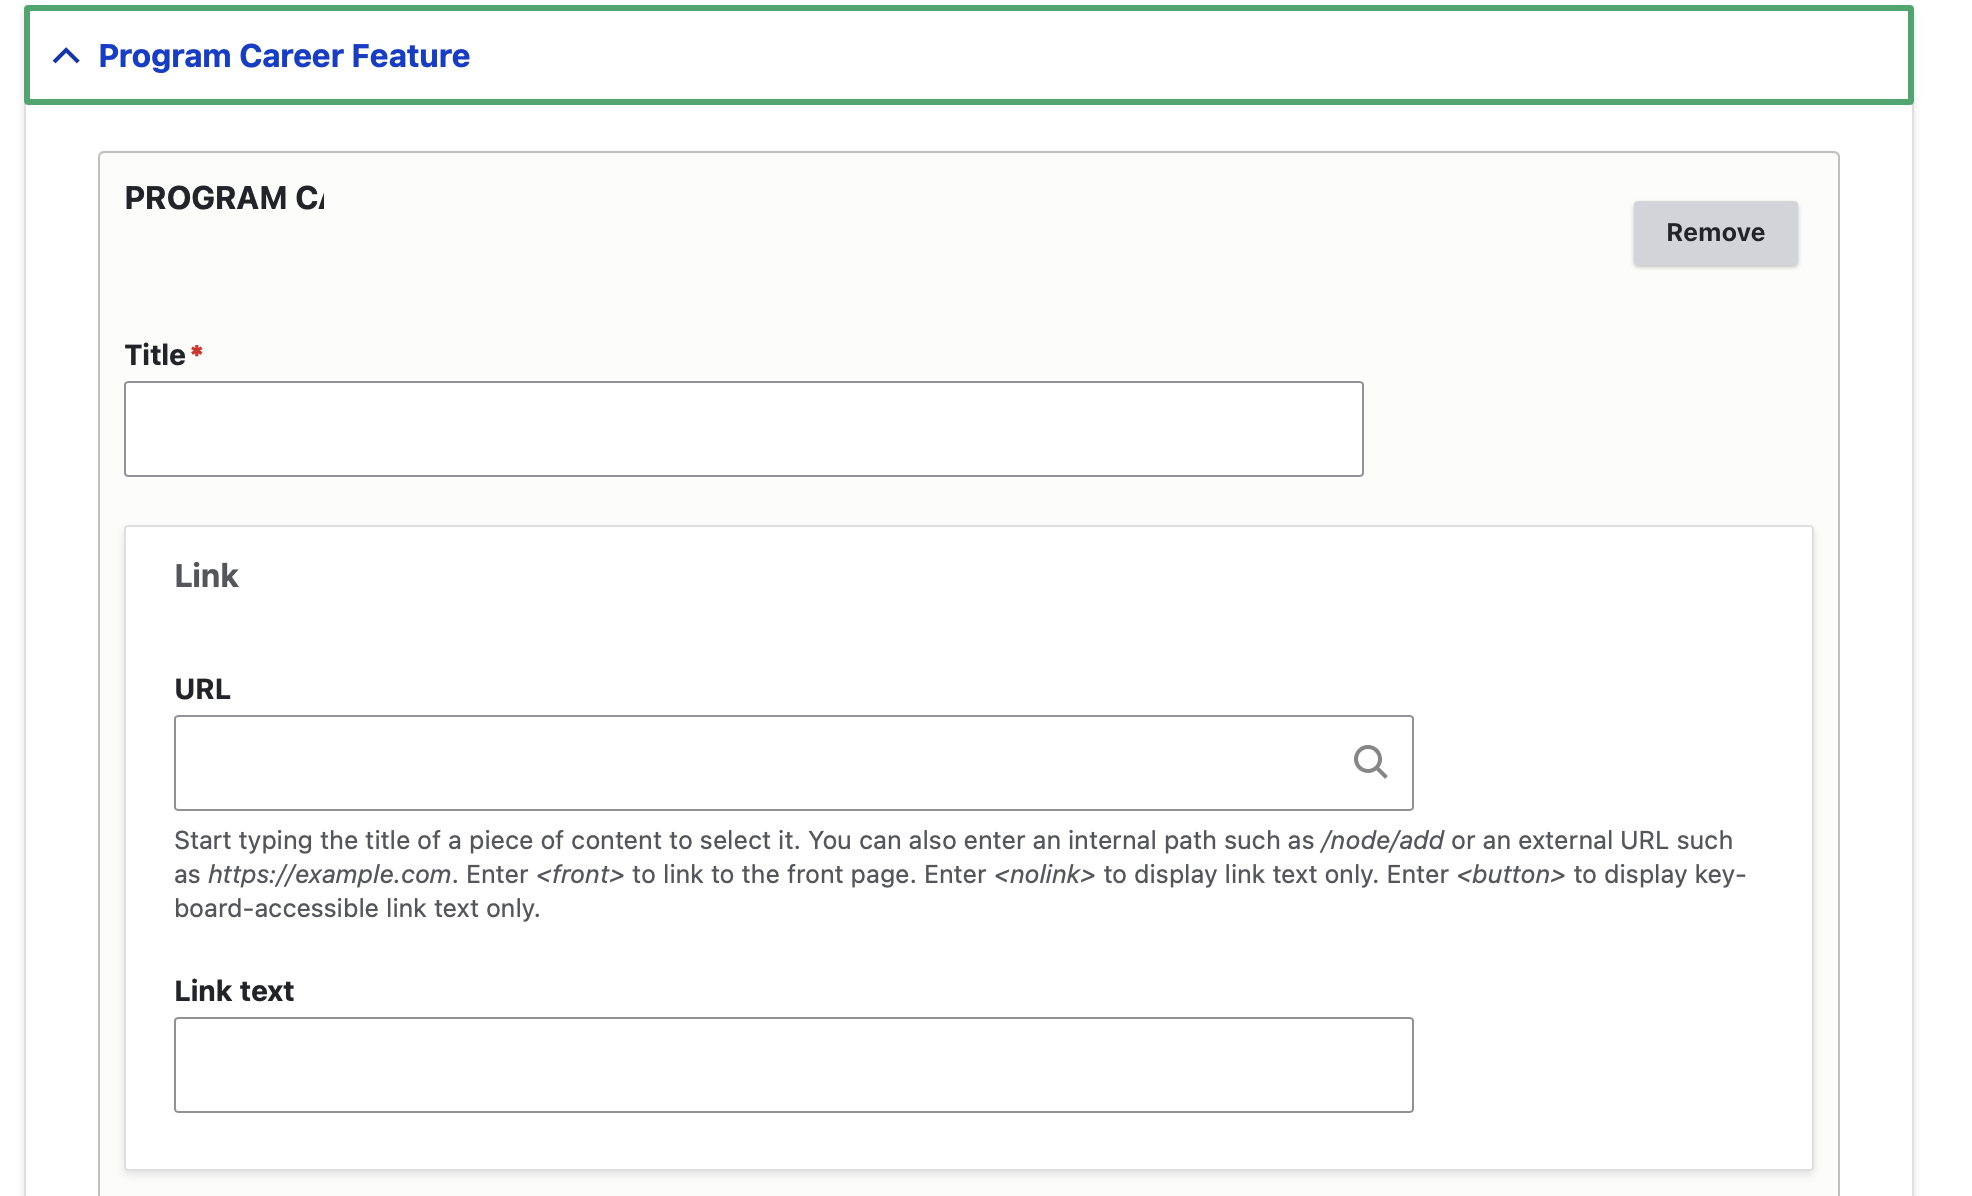
  4. Build the four program features. Tutorial included below.
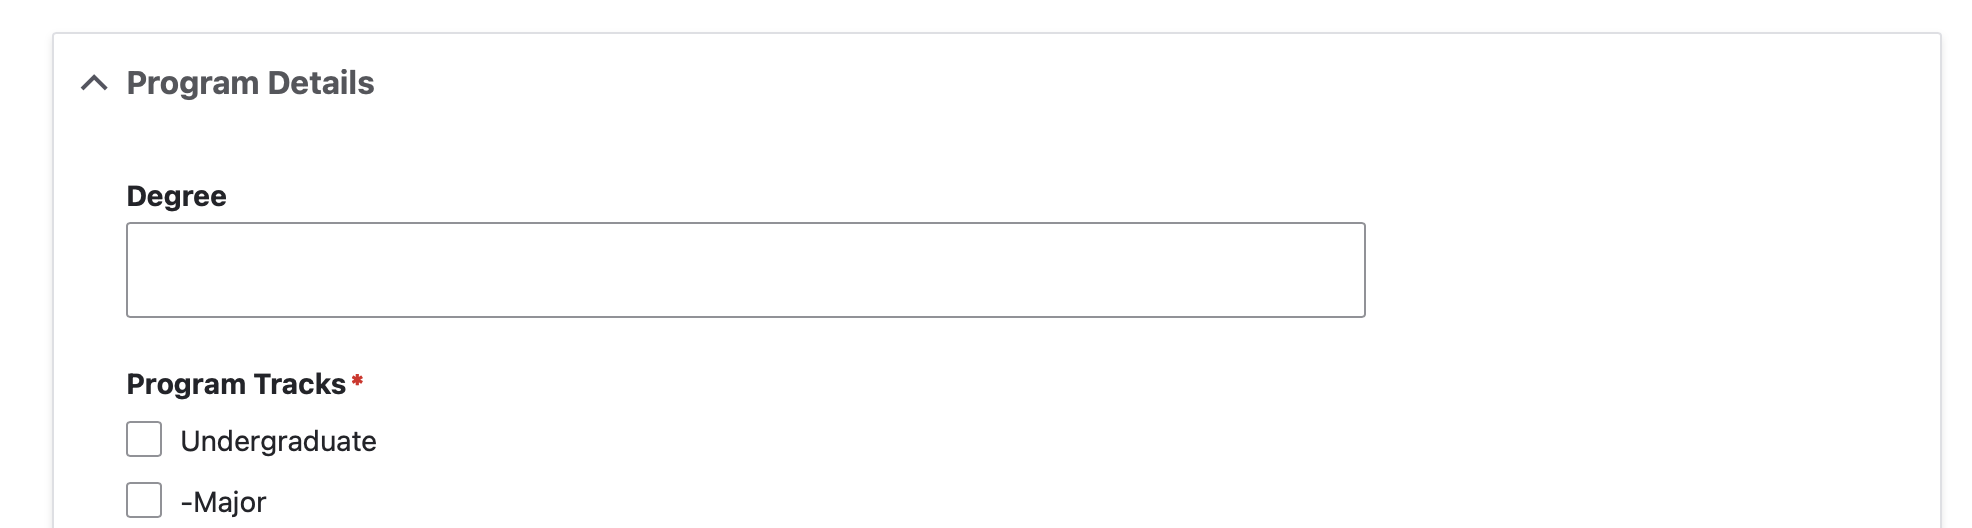
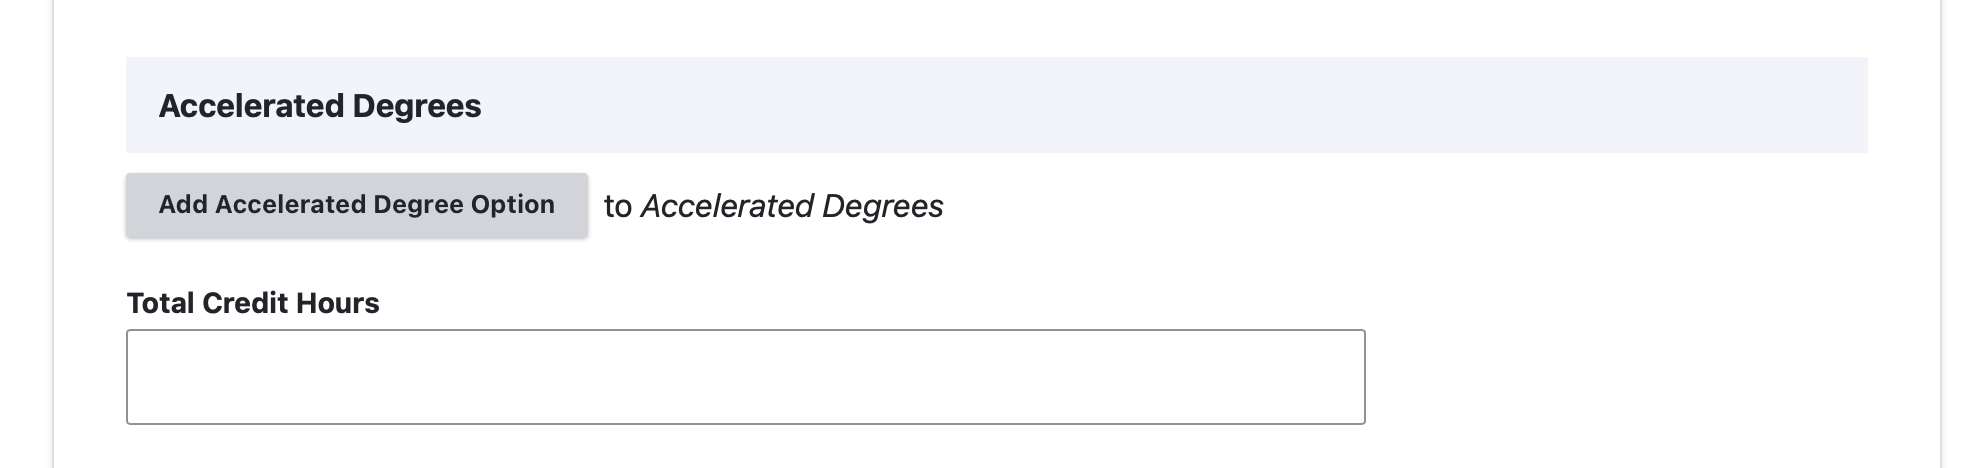
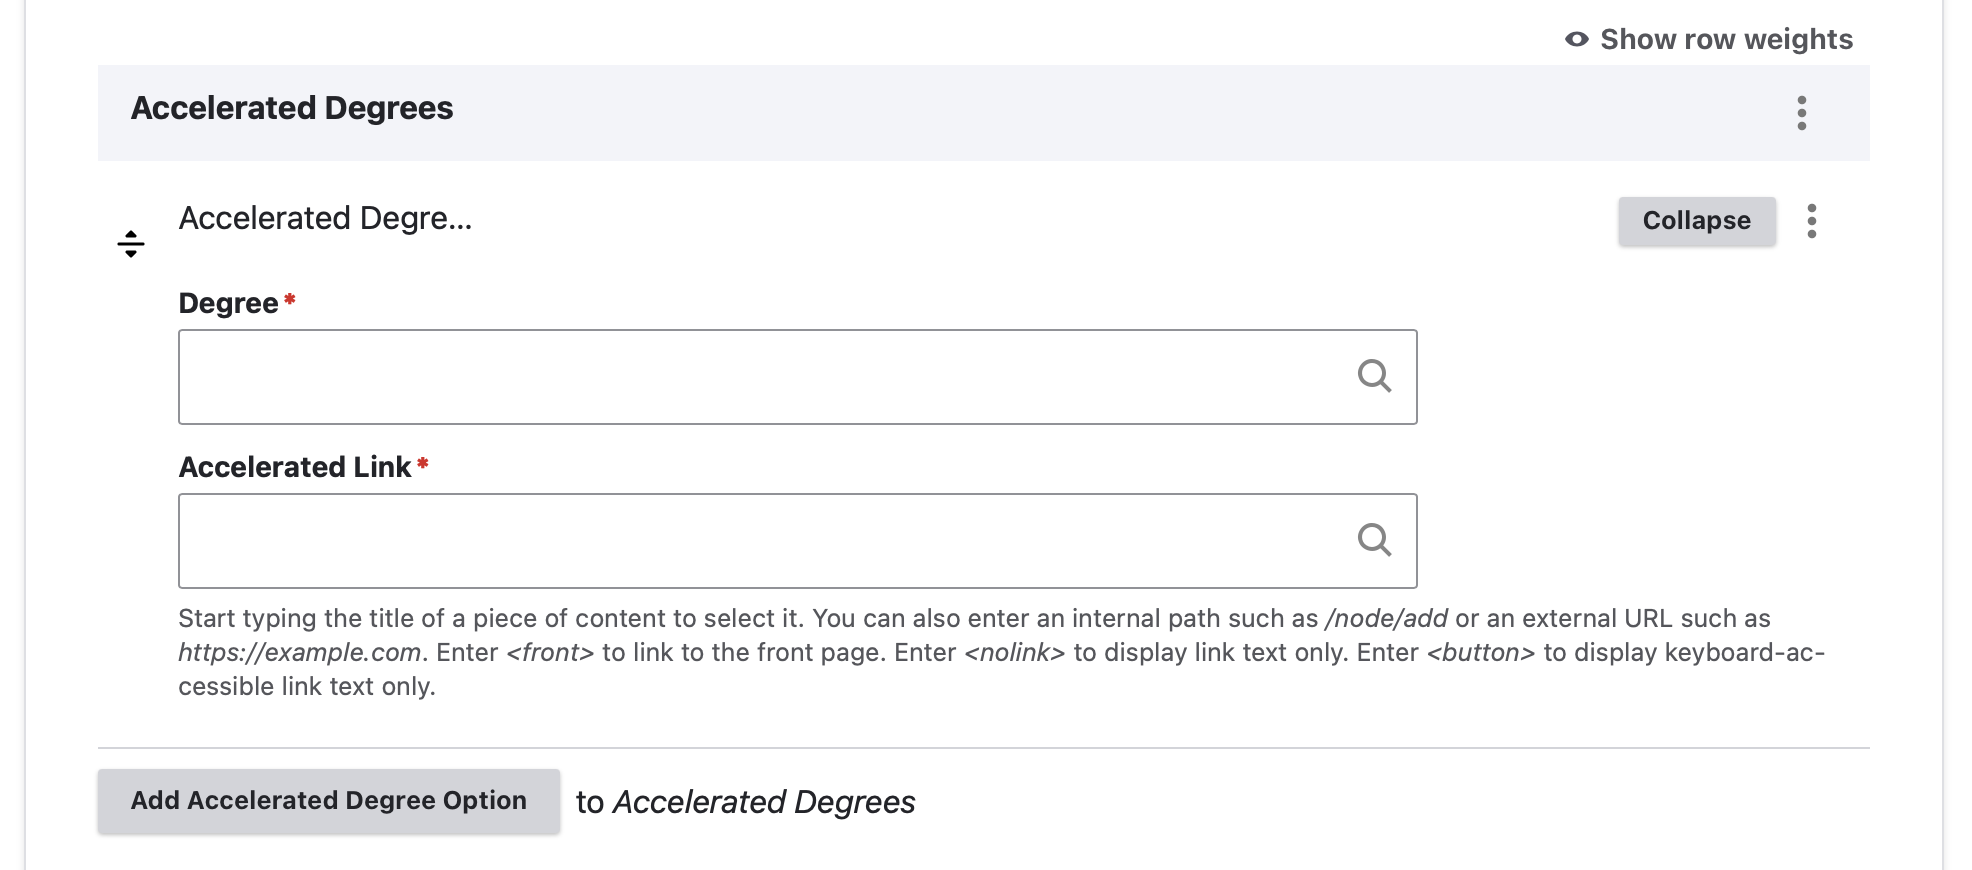
  5. Build the program page. Tutorial included below.

To see how each piece described below will display on the front-end, please reference this example program page on our training site.

Building your Program Page

Create your features

When planning the content for these program features keep in mind that the purpose of them is to give prospective students a quick look at life in this program. Common topics for these features include: student organizations, internships, labs, and specialized activities within the program (i.e. Lunch Club for Hospitality Management or CAPE for Electrical Engineering).

From https://louisiana.edu/node/add select "Program Feature"

Fill out the fields:

  • Title: This is the internal title for the feature, which you will use to find the content on the back end. Users will not be able to see this name.
    • Following the naming convention: “Major name – Feature theme” (i.e. “Theatre – Internships” or “General Studies – Student orgs”)
  • Feature display title: The public-facing name of the feature.
  • Description: The body content of the feature. 
  • Video or Image: Use either field, but not both. Follow the steps in the helper text for uploading a new photo or linking to a video. You should only add a video or image for the main program feature, not the others.
    • For the photo, make sure it is sized to 760x500 pixels and has an Accessible file name.
    • Once the photo is uploaded, make the photo name follow this naming convention: Feature type – page – subject matter, such as “Program feature – Theatre – Internship”)
    • Return to the tab where you are building the program feature. In the image field, type in the name of the image you just added and select it from the auto-complete.  
  • CTA Link URL and Link Text: the URL is the link, and the Link text is the visible text (i.e. “more about internships”) 

Change from “Draft” to “Published.” Save.

Repeat for the other three program features.

To add a program page, you will go to this link: https://louisiana.edu/node/add/program or navigation through the steps below.

Main Site Editors

If you are an editor on the main site, you will be able to create a program page from the content menu. Go to Content > Add content > Program (NOT Program Landing). Your page is now created and you can go through the steps below.

Subsite/Group Editors

If you are an editor on a departmental site (subsite), you will need to create your program page from your group page found at https://louisiana.edu/admin/group. In your group Nodes page, you will click the "Add New Content" button, then click "Program" (Not "Program Landing") to create your page. Your page is now created and you can go through the steps below.


If you do not have access to create a program page, you will not see any of the options explained.

Fill out the fields:

  • Title: How the page name should appear.
    • Please keep in mind that this is how it will appear in the listing, alongside all other programs we offer. It will also appear in the URL, at the top of the page, and across some hard-coded instances throughout the page. For this reason, it is standardized that the name of the program must come first. You may have to include some additional context to your program title, which must be added to the end of the program name.
  • Featured news/story: type in the spotlight title that will be featured at the top of the page. It should auto-fill with the full name after you select it. Be sure to select the story you want to include from the drop down rather than just inputting the name of the story.
    • The spotlight you pull in must have a header photo. If there is no image, the quote lays on top of following content. If you do not have a spotlight with an image - do not add the spotlight.
Screenshot of Program page title and featured news/story

When editing a program page, this is one of the sections that is automatically collapsed. To edit this section, you will need to press the carrot icon to expand the section. When you do expand the section, you will see the following information:

  • Degree name
  • Program tracks
  • Accelerated Degrees details
  • Total credit hours
  • Colleges
  • Departments/Schools
  • Online program details
  • Concentrations
Screenshot of program page backend: program details

Degree Input

In the "Degree" input box, you should enter the name of the degree that the student will earn. For example: Bachelor of Science in Informatics or Master of Science in Informatics. If the program page is for a non-degree program, you may enter specific information such as "Graduate Certificate in Instructional Coaching" or you may enter a general statement of "No degree awarded"

Program Tracks

The Program Track input is a list of checkboxes listing the range of program tracks we offer. Multiple boxes may be checked, but you must keep the checked options related to the specific degree covered on this program page. For example, if you are building a program page for an undergraduate Informatics degree, you will not also check the graduate options because we also offer an M.S. degree in Informatics. 

Program track options include:

  • Undergraduate
  • -Major
  • -Minor
  • -Concentration
  • -Dual Degree Option
  • Graduate
  • -Certificate
  • -Master's
  • --MBA
  • --M.Arch
  • --M.Ed.
  • --M.M.
  • --M.A.
  • --M.S.
  • -Doctorate
  • --Ph.D.
  • --DNP
  • --Ed.D.

The "-" and "--" indicate the level of categorization. i.e. the "--M.S." option is within the "-Master's" option, which is within the "Graduate" option. 

You must check all of the applicable options in order to have the page show up properly on the listing page. For example, for the Master of Science in Informatics program, you would click the following options:

  • Graduate
  • Master's
  • M.S.

Choosing all of these will ensure the user is able to find the program from the listing page. 


Screenshot of program page backend: accelerated degrees & credit hours

Accelerated Degrees

You have the option to link to an accelerated degree now. For example, the Accelerated Bachelor’s / Master’s (ABM) degrees may be linked on our regular undergraduate program pages. 

Screenshot of program page backend: accelerated degree option expanded

When you click the "Add Accelerated Degree Option" button, you will then be able to input the following options:

  • Degree: name of the accelerated degree
  • Accelerated Link: link to the accelerated degree program page

Total Credit Hours

Input the total credit hours required to complete this program. This is not limited to just numbers, so you may add context. i.e. "31 beyond the bachelor's degree"

Colleges, Schools & Departments

Screenshot of backend: colleges & departments/schools

These are input fields that pull from a pre-determined taxonomy list. When you start typing in the input fields, you must select your option from the dropdown for it to pull in properly. It will then show up with a number in parentheses at the end. You are limited to 3 colleges and 3 departments/schools. 

Online Option

screenshot of backend: online option

This part of the program page can be a little tricky. The helper text that says "If yes, add a URL to the Online Option URL field" is wrong. 

If this is a program page for an online program: check the box next to "Online Option?"

If this is a program page for an in-person program that has an online program alternative: Enter in the input box the URL of the program page for the online program. 

Concentrations

screenshot of backend: concentrations

If your program has concentrations, this is where you will list them. Each concentration must take up it's own input box. To add more concentrations, you will select the "Add another item" button. To remove concentrations, you will select the "Remove" button beside the corresponding concentration. 

After the program details section, fill out the fields:

  • Who is this program for?
  • Body
Screenshot of backend: intro text
  • Links for other applicants
    • URL: The link where the button will lead
    • Link text: The text that will appear on the button
    • You are limited to 4 links here
    • These are typically used for related programs.
      • i.e. add a link to Master of Science in Informatics on the undergraduate Informatics page
screenshot of backend: links for other applicants

When editing a program page, this is one of the sections that is automatically collapsed. To edit this section, you will need to press the carrot icon to expand the section.

Fill out the fields:

  • Title: The title for the section (i.e. “What to expect as a theatre major”)
Screenshot of backend: differentiator and quick info ratings title and link
  • The first section you will see is the link section. This is to add a button below the entire differentiator/quick info ratings section. Fill this out with the following items:
    • URL: the URL your button should lead
    • Link text: the text of your button
screenshot of backend: differentiators
  • Below the link section is an area where you can built out a differentiator card directly on the page. Do not do this. Rather, you will need to select the "Remove" button for this section.
screenshot of backend: differentiator input
  • Quick Info Ratings section:
    • Add the Info Rating Title: Stick to topics that give prospective students insight into the program (i.e. research, presentations, group work, etc)
    • Add the Info Emphasis Rating: Select 1-3 with 1 representing the least amount of work in this topic and 3 being the most amount of work in this topic. Do not use this section to compare your program to another, but rather give a snapshot view of how students will be spending their time in this program. Avoid using 0 as that means no time will be spent in this category and therefor should not be represented in the list at all.
    • Click the Add Program Quick Info Rating button to add 1-5 more ratings.
screenshot of backend: quick info ratings
  • Differentiator section:
    • Start typing in the name of your differentiator card
    • Select the card you've built for your program page
screenshot of backend: differentiator card input

Fill out the fields:

  • Title and Display Title: same content (i.e. Life as a theatre major)
  • Large program feature: Start typing the name of the program feature you built for the primary placement and it should auto-fill. Remember: If you followed the proper naming convention, the program features’ names should all start with the name of the major.
  • Small program features: Start typing the name of the three program features you built for the secondary placement and it should auto-fill. 

Note: When your items auto-fill, be sure to select the item from the drop down options. They will show up with a number in parentheses after you have selected your options. 

screenshot of backend: program features


If you are highlighting concentrations through the checkerboard feature, click the Add Checkerboard button and go through the steps for creating a checkerboard. For each checkerboard  piece, you will need:

  • Checkerboard Title & Description: You may include an optional title and description for the entire checkerboard.
    • example: "Concentrations in Informatics" & "Choose a concentration to specialize your degree in informatics."
screenshot of backend: checkerboard intro
  • Checkerboard Item Media: Checkerboards are visual components, so they require a photo with dimensions: 760x500 px. You have the option to include a video. If you would like to include a video, you must make a request with web@louisiana.edu. You must use a photo even if you include a video. This photo will act as a cover image for your video. You may also utilize the caption to give your photo written context.
screenshot of backend: checkerboard media
  • Title: This will be the name of the concentration
  • Description: Give a short description of why a student will benefit from this concentration
screenshot of backend: checkerboard item content
  • Link/Button: You have the option to include a link that will display as a button. For this, you must include:
    • URL: the URL your button should lead to when clicked.
    • Link text: what your button should say
screenshot of backend: checkerboard button link

Fill out the fields:

  • Title (always “[major name] Courses According to Students”)
  • Description: An optional description if your course quotes require the context
screenshot of backend: course feature intro
  • Link: link to the catalog page with this program’s curriculum
  • Link text: Explore the curriculum
screenshot of backend: course feature link
  • For each year, fill out:
    • Course Feature Year Title: Freshman Year, Sophomore Year, Junior Year, or Senior Year
      • Some programs may have specialized titles here, however for the best user experience, please keep your titles here related to the student classification
    • Course Title: Format as “BIOL 220 Survey of Human Anatomy and Physiology)
    • Professor name (if given)
    • Professor Profile: You may link to the professor's profile if available. Start typing in the professor's name and be sure to select it from the drop down.
    • Quote about course: Copy and paste the course quote with the quotation marks.
    • Quote source: Student name and major. Format as: “Camille Guilbeau, Health Information Management Major”
screenshot of backend: course feature course content
  • Click the "Add Course Feature Year" button to repeat the process and add all 4 years. Please include all 4 years to avoid unnecessary space being left in the front-end feature.
screenshot of backend: course feature add button

Note: This is not functional at the moment. You must click the "Remove" button to remove it from the page


screenshot of backend: program page profile summary

Fill out the fields:

  • Title (“Careers in [major]”
  • Link: Add an optional link to the bottom of the career feature. Fill out the following fields:
    • URL: the URL your button should lead to when clicked.
    • Link text: what your button should say
screenshot of backend: career feature

Program featured alumni section:

  • Photo – use existing media: Type in the name of the person whose spotlight it is (from when you built the spotlight). It should auto-fill.
screenshot of backend: program page alumni photo
  • Name: The alum’s name
  • Quote: The pull quote from the alum’s story (with the quotation marks)
  • Program and year: Format as “Major Name ‘XX” (Health Information Management ’97 or Theatre ’09)
  • Outcome or job: The alum’s title
screenshot of backend: program page alumni feature

Link section:

  • URL: start typing in the name of the spotlight and it will auto-fill.
  • Link text: Learn more about [alum’s name] or Meet [alum’s name]
screenshot of backend: alumni link
  • Outcomes:
    • For each career outcome, fill out:
      • Title: The job title
      • Link: The link to the spotlight about the alum with that job title. Start typing in the spotlight’s name and it will auto-fill. Leave blank if there is not a spotlight. 
screenshot of backend: career outcomes

You have the option to add a set of 3 differentiators on your program page. These differentiators must be built beforehand. Use these to highlight differentiating aspects of the program.

Fill out the following fields:

  • Title
  • Description
screenshot of backend: additional differentiator intro
  • Differentiator cards: This is where you will pull in your pre-built differentiators. Start typing the name of the card you built in each of the input spots and select the one you want from the drop-down options.
screenshot of backend: additional differentiator card inputs
  • Link:
    • URL: the URL your link should lead to when clicked
    • Link text: what your link should say
screenshot of backend: additional differentiator link

The Program Requirements section displays as an accordion near the bottom of the program page. This feature is utilized to provide further information about requirements for the programs. Examples of information categories often used include:

  • Major Requirements
    • Commonly includes admission requirements & graduation requirements
  • Minor Requirements
  • List of Minors
  • Licensure Information

In each section, fill out:

  • Title: The heading for that section of the accordion
  • Body: The details for each.
screenshot of backend: program requirements

Click the Add Program Requirement button to add another section.

Unless specified otherwise, this should always link to the application.

Screenshot of backend: program page primary call to action

Please include the following CTAs on all applicable program pages:

Other commonly used CTAs for this section:

  • Related minors (ex. French program page could link to Cajun & Creole Studies minor)
  • Accreditation Information 

For each secondary CTA, fill out:

  • URL
  • Link text: the visible text the visitor will see.
  • Attributes: Change target to “new window” if linking outside of the University’s main website. 
screenshot of backend: secondary calls to action

Fill out:

  • Title: Like “We’re here to help” or “Get more info”
  • Link:
    • URL:
    • Link Text:
screenshot of backend: organizations intro

Under organizations: Start typing in the name of the department that oversees that program and it will auto-fill. Please keep in mind this is the main contact information for the program that users will be exposed to. So, while there is space for 4 organizations here, providing one main contact is best.

screenshot of backend: organizations input

Note: This feature is not fully functional on the program pages. Click the "Remove" button from the Livewhale Event Feature. If you are interested in using this feature, you may contact the web team at web@louisiana.edu to express your interest.

screenshot of backend: Livewhale event feature

Scroll down to the bottom and choose the publish status you are saving your program as. Only published programs will populate in our program listing. Once a page is published, saving as a draft will not unpublished the page, rather it will be available as the version before saving as a draft until that draft is published again. To unpublished a page, it must be archived. Please contact web@louisiana.edu to archive any pages.

Click save. 

Screenshot of Drupal backend "Save as:" with "Draft" selected as the dropdown option. Below is the save button.
Screenshot of backend "Save as:" with dropdown open. Options are "Draft" "Needs Review" and "Publish". Below is the save button.