Webforms are used to gather information from people visiting your site. Some common uses of webforms are to allow users to request information, submit applications, or report an issue.
Warning: Do not use webforms to collect sensitive information
Our webforms are not to be used to collect sensitive information, including:
- Detailed contact information (combination of email addresses, home and mailing addresses, and phone numbers)
- Information protected by FERPA (ULIDs, GPAs, test scores, etc)
- Payment information (i.e. credit card numbers)
If you need to collect sensitive information, use Microsoft Forms instead.
Adding a Webform
Creating the Webform
- In the admin toolbar, hover your cursor over Content.
- Pull your cursor down, and place it over Add content.
- Click on Webform.
- Type the name of the webform in the Title box.
- In the Body box you can provide a brief description of the webform and any related instructions.
- Scroll to the bottom of the page. If you would like for your webform to appear in the menu as a sub-page, click provide a menu link and select the appropriate parent item. An alternative would be to link to it (using the Linkit tool) within the text of another page after you create it.
- Click Save.
- In the “New component name” text box, enter the name of label that will appear on your form (i.e.. name, phone number, email address, etc.)

- Select the component type from the drop down menu.
These will be the most commonly used types:
- Date: Displays a drop down of hours, minutes, and years (can be configured to your preferences)
- E-mail: requires a valid email format
- Select options: allows users to select from a list of options (either radial buttons or drop down list) that you configure. When listing the options for users to choose from, you will have to use key-value pairs listed on separate lines. For example:
0|Yes
1|No
2|Maybe
- Text area: provides a one line text box
- Text field: provides a larger text box
- If you would like to make the field mandatory, check the appropriate box.
- Click Add.
- Configure the field to your preferences.
- Click Save component.
- Once your fields have all been inputted, you can reorder them using the compass arrows to the left of the field label.
Receiving Submissions in Emails
- Click the E-mails button at the top right of the window.
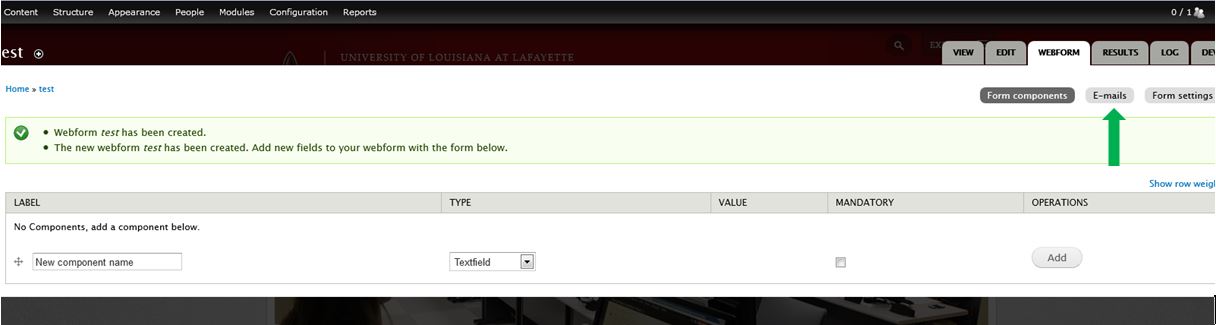
- Type in the email address you would like the form to be sent to after a user submits it.
- Click on Form settings at the top right of the window.
- Configure the submissions settings to your liking.
- Click Save configuration.
- If you did not provide a menu link, you can now use the Linkit tool to link to it from the text in one of your pages.